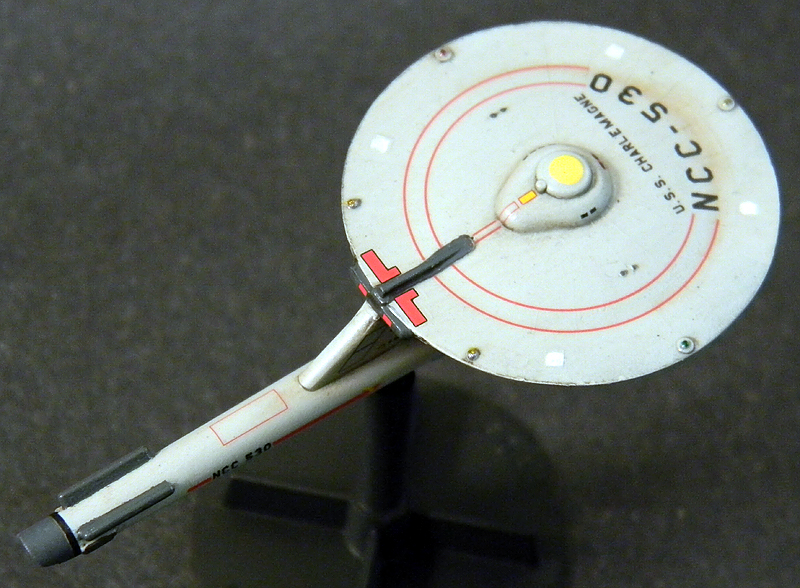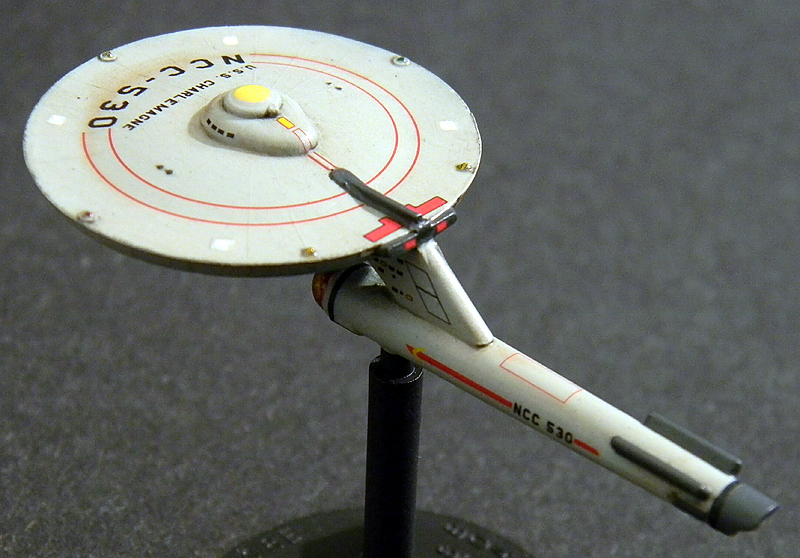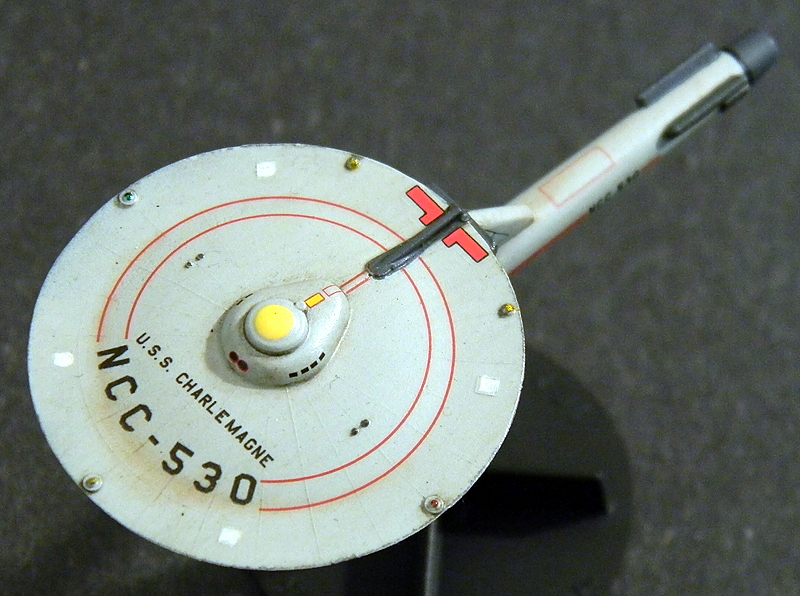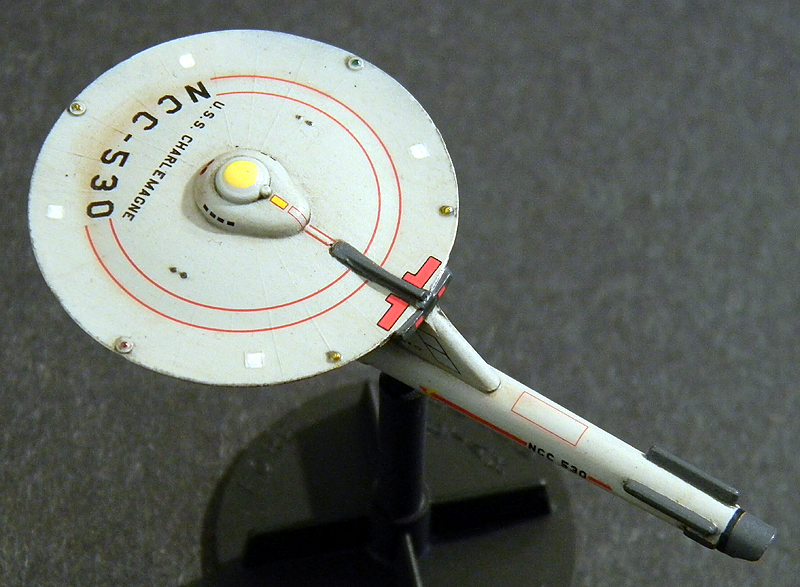
Federation Saladin-Class Destroyer (DD)
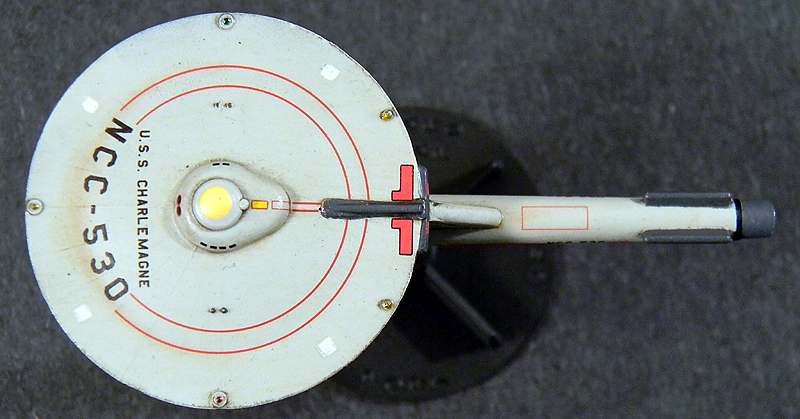
U.S.S. Charlemagne, NCC-530

1:3788 Scale Amarillo Design Bureau Gaming Miniature

Copyright
2012 Jim Lewis/GunTruck Studios
All Rights Reserved Worldwide

Finishing materials and sequence can be found here on this page.
Gallery

Awards & Honors

First mini finished in 2012, and next up in my little Franz Joseph-type starship tribute fleet is the Federation Destroyer USS Charlemagne . The Destroyer variant is a quick and fun build, and can be done in a single day if you pushed it.

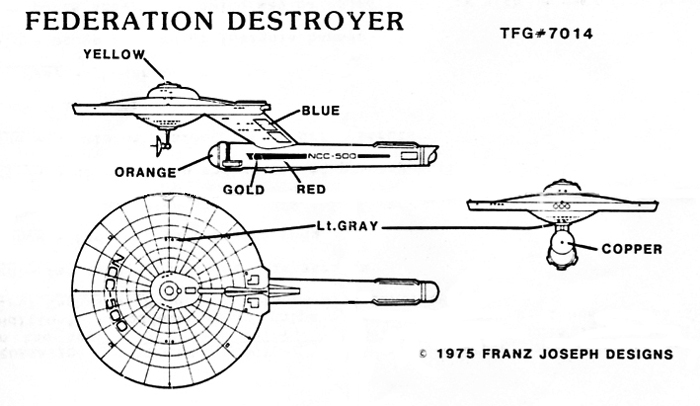
Modeling USS Charlemagne, I wanted to construct a later variant, choosing to follow the drawing from the Starship Schematic Database. This version is equipped with a forward-placed Shuttle Bay on the underside of the primary hull for two Shuttlecraft embarked..

Note: I decided to change the ship's name to "Charlemagne" as opposed to "Charlamagne" as presented in the SFB Star Fleet Registry and on Starfighter Decals' #SFD-005 Federation Destroyer, Scout and Tugs sheet, because this is the spelling I am most familiar with. Since I was going to create a decal anyway for the Hangar Bay Doors, why not print a decal for the ship's name too? For the rest of the ship's registry I went with decals offered by Starfighter Decals.


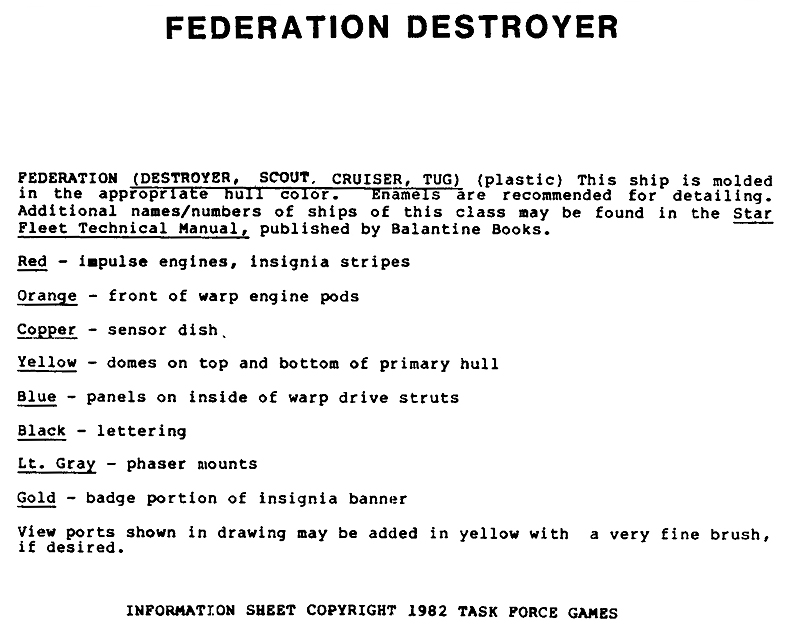
My donor gaming miniature comes from the special edition boxed set of Franz Joseph starships offered by Starfighter Decals. The miniature is cast crystal-clear and is packaged with Gamescience finishing instructions. When I cleaned up the mold lines and ejector pin marks, I couldn't help falling for the "cloaked" Destroyer idea seeing how nicely it looks in clear plastic - but pressed on in finishing it as USS Charlemagne anyway. Taking your time, you can clean one up and get it ready for painting between 20 and 30 minutes. Of course, it always takes longer to pick out the fine details all over the gaming miniature, and then even longer to touch-up the base color coat too, but the effort is worth it in the end. Perhaps one day I'll do up a "cloaked" Destroyer if I'm able to acquire another clear-cast miniature of this quality.

Honestly, the only thing I can say I don't like about building and finishing the Destroyer/Scout Franz Joseph-style starships is that it goes by too fast. Wrapping up USS Charlemagne only whetted my appetite to dive in another one - they can be addictive modeling subjects. The last time I had a miniature gaming fleet was back in the early 1980's (80-81'ish) when I was happy to game play with unfinished pieces and didn't have a finished Federation Destroyer. This is my first finished Destroyer.


Instructions that come with the miniature is pretty much the way to go in finishing.
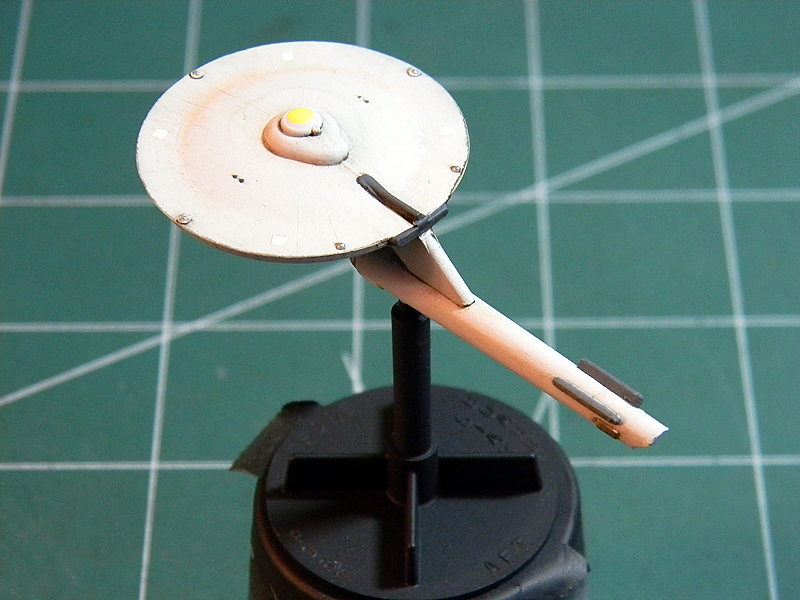
Most of the way through detail painting and clean-up of the weathering wash here in the two photos above and below. I still have some small areas left to pick out, like the Weapons System Reception Sensors on the leading edge of the Primary Hull, and have to remove some excess wash yet to go a this stage. This is where the little gaming miniature comes to life for me, and I begin to think about its imaginary service life and let that dictate the final finish.

Just before applying a satin clear coat for decaling, I finished in the Bussard Collector Domes on the warp engines some more with a wash of Tamiya X-27 Clear Red enamel paint. Additionally, I tried out a new idea for rendering a glowing warp engine effect suggested by the painting guide. I trimmed out a section of white decal sheet and applied it to the warp nacelle. Then, I overcoated the white decal with a 50% diluted wash of Tamiya X-23 Clear Blue. It is an interesting result, one I tried out at the same time on my Rescue/Hospital Ship USS Hope. I'll keep on attempting to refine it as I go forward.
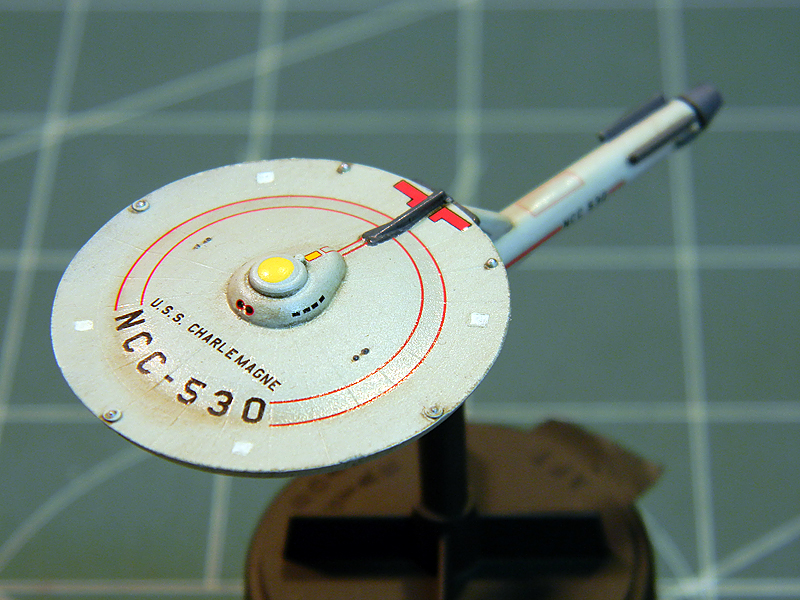
With all of her decals in place, USS Charlemagne awaits a sealer satin coat to blend them in to the final finish. High-quality markings really enhance a gaming miniature and makes it come to life. Before doing so, I enhanced the warp nacelle effect one more time, using a mixture of four drops Future acrylic floor finish with one drop of Tamiya X-23 Clear Blue enamel paint. Now, it sounds like the two wouldn't work together, but it did mix long enough for me to paint the solution onto the nacelle. It worked out well.

I deviated a little bit from the drawing, again, when I did the decal representing the Hangar Bay Doors on the underside of the primary hull. I used a Circle Template and a sheet of white decal film to draw a slightly larger pattern in pencil - with the graphite outlining my Door and the segments.

I sealed the decal before trimming it out for application. I didn't replicate the bluish glow around the Doors like in the drawing because it's easy to confuse with the warp engine effect. I like how the doors stand out done in white, which is why I didn't do the Doors in the color of the ship's hull. After the decal setup, I weathered it lightly with an application of Pigments to blend with the rest of the miniature and moved on to seal it all up with two coats of Polly Scale Satin finish.


All content Copyright 1998 - 2019 Jim Lewis, guntruck.com, guntruck.us, guntruck.org, guntruck.net and GunTruck Studios.
All Rights Reserved Worldwide.

Contact GTS

Next Page
Previous Page