|
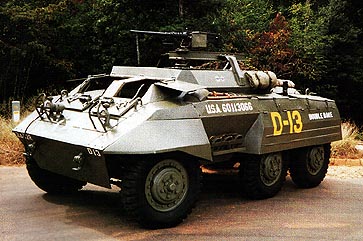
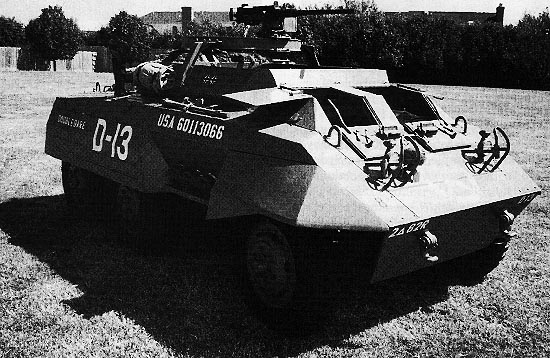
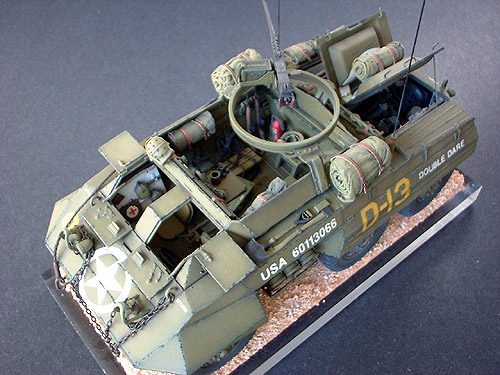
Above are two photos of the
restored M20 Armored Utility Car "Double
Dare". Maybe one day, I'll run into this
vehicle at a MVPA show somewhere and get to
photograph it some more. I did not add the
two German National Insignia 'kill marks' to
my miniature, but if I ever can find out
more about the real vehicle (verifying the
kills and additions of marks) then I'll
certainly add them!
Having built Tamiya's M8 Light Armored Car
before, tackling the M20 Armored Utility Car
proved a breeze. You can almost build it in
your sleep. From the outset I planned to
take advantage of the separate engine
breather hatches to model an engine for my
M20. The Tamiya model kit doesn't come with
this detail, sadly, but you can take
advantage of the resin sets offered by
Jaguar and Verlinden Productions.
|
I did
- using components of both of them to make
the engine compartment complete. Having both
on hand also came in handy when I dropped
the model and destroyed it the first time
around. I had enough to rebuild the
miniature, though I had to fashion some
replacements for lost detail in the
accident. Markings for "Double Dare" came
from Superscale and Aeromaster water-slide
decals, and Verlinden, Archer, &
Pre-Size dry-transfers. Hudson & Allen
supplied some equipment markings too. Hudson
& Allen Tow Cable Ends were mated to
nylon string to make the tow cable. Builders
In Scale chain was used on the front of the
miniature.
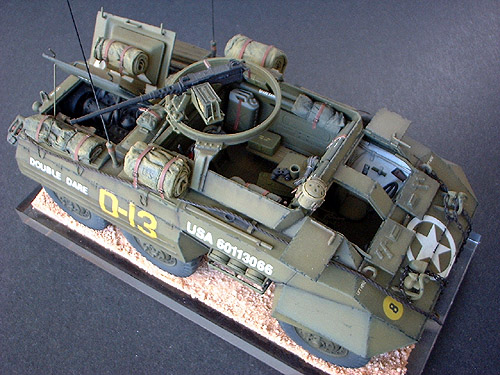
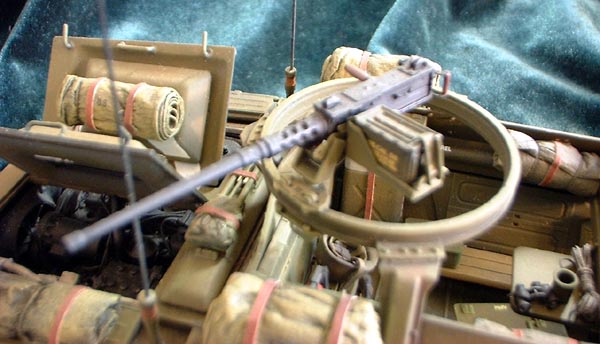
At
left, Verlinden's resin .50cal machine gun
and associated equipment replaced Tamiya's
kit offerings. I wanted to dress this area
up a little more, not that anything is
terribly wrong with the Tamiya kit parts as
supplied.
Kendall
Model Company & On the Mark Models
tie-downs were used all over my miniature.
Strapping was yellow 3M Post It Notes
painted with Tamiya Red Brown. This is my
favorite for simulating leather straps, as
when you trim them from the sheet, a little
yellow shows on the edges looking like worn
straps. I lost the buckle for my Jerry Can
on the above photo - had to place a new one
there later on. All rolls are made from
tissue. The Jerry Can holder is another
favorite - On the Mark Models product.
National Insignia are behind the First Aid
Kit and the Jerry Can Holder - I had to
explain this because some contest judges
don't realize this is a common location for
these markings. They think something is
'wrong' with the model when they see the
decal peeking out from behind the simulated
equipment.
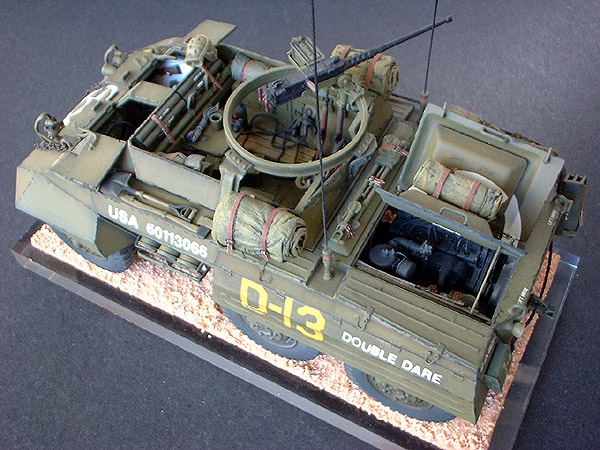
Interior
shots... One could paint the interior white
overall, but I went with OD Green. I added
equipment and smaller details like the Spare
Cal.50 Barrel container at the top of the
above photo. The Binoculars have Grief Optic
Blue Lenses in them. A Verlinden resin Cup
sits next to a rope bundle I weave during
baseball or football games. More 3M Post It
Notes for leather straps to secure equipment
in the Fighting Compartment. Tool &
Equipment Boxes are Italeri items. The
Helmet & Grenade is my 'signature'
addition to all of my miniatures - made from
Italeri parts with Verlinden Foil liner and
straps. The Tanker's Helmet is from a DML
figure set. Flashlights clamped to the
Driver's Compartment walls are simple
styrene rod reshaped for the purpose.
Cabling and Wiring is made from various
gauges of solder and Detail Master wiring
for automotive models. Underneath the
Tanker's Helmet, on the right side Bench, is
a bottle of liberated wine.
A
clear plastic item painted with Tamiya Clear
Red. I suppose it could be a deeper red, but
I like the way the light shines through it.
I sanded off the Driver's Hatch Handle
detail on the kit part, and made my own out
of Verlinden Foil and .020" solder so that I
could reposition it for variety. Resting on
the small bench at the rear of the Fighting
Compartment is an Italeri Helmet and Grenade
with a brass pull ring. The liner and straps
are made from Verlinden Foil. I usually add
this last detail as a type of 'signature' in
my miniatures.
|