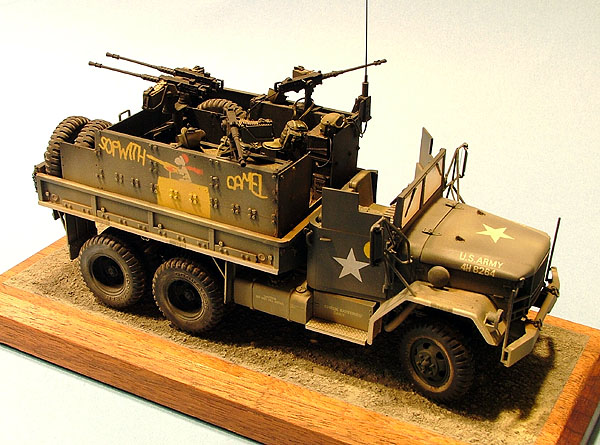
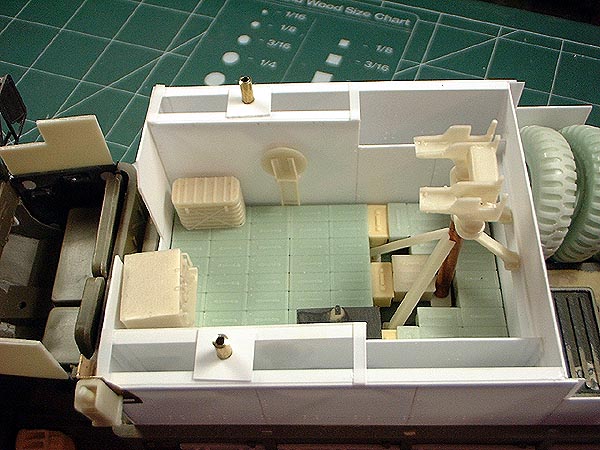
Fighting Compartment
The
Fighting Compartment for "Sopwith Camel" is
a typical second-generation type, with
double walls for increased crew protection.
A type of spaced-armor concept employment,
it doubles as a storage location. Gun Truck
modelers sometimes become as resourceful as
the actual Vietnam Truckers, unlike
materials combine to replicate the rather
imaginative and sophisticated modifications
to the Cargo Bed in these vehicles. "Sopwith
Camel" was also what was called a Contact
Maintenance Truck. These vehicles carried
extra tires and some components to service
gun trucks damaged during the convoy run.
Often, when the Viet Cong attacked, all the
tires on one side of the Truck were shot
out.
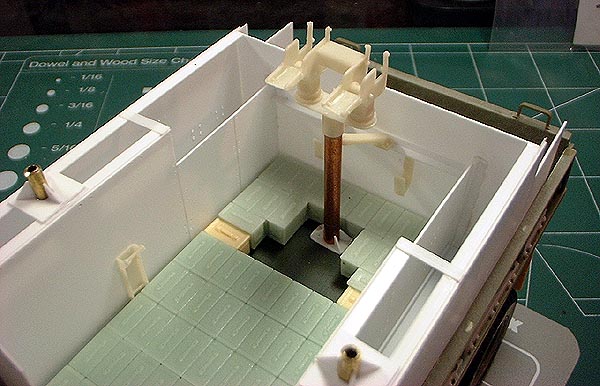
Normally,
I make a paper maquette of the intended
Fighting Compartment for a particular gun
truck miniature. It is easy to trim and tape
Index Cards together, and toss them when
needed. This time around, I just went ahead
and cut the styrene sheet. I also tried a
different resin casting medium, from
Smooth-On. This product worked out for me
very well, and I'll be using it more in the
future.

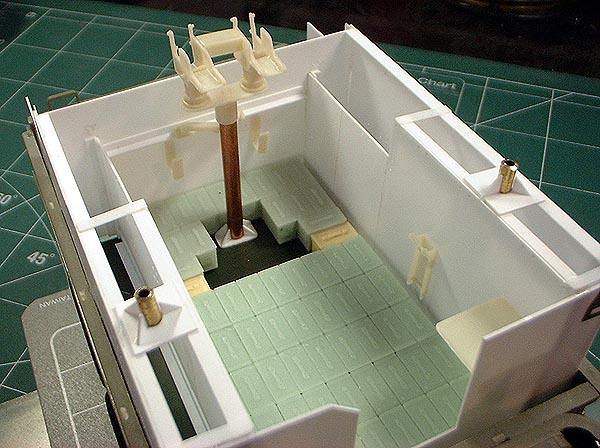
A very
important part for modeling these trucks, is
being able to not only produce a clean and
unblemished miniature in the raw - but to be
able to make it strong enough for repeated
handling to test-fit and adjust components
as they come together. I do this alot to see
how it is all coming together - it also
inspires me to keep plugging away with a
long, demanding conversion.
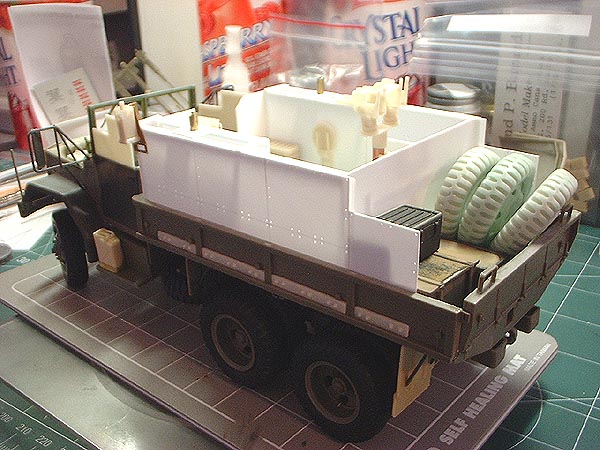
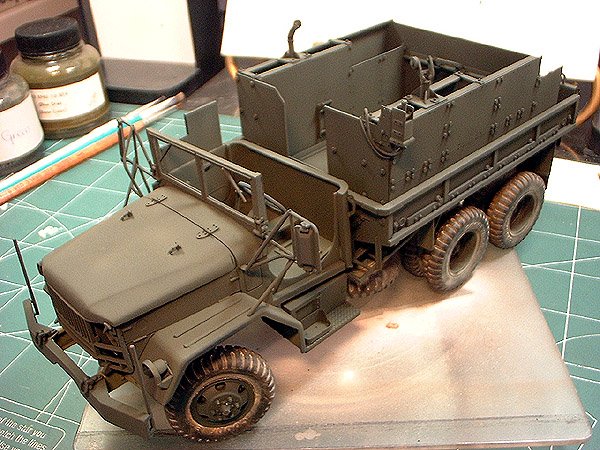
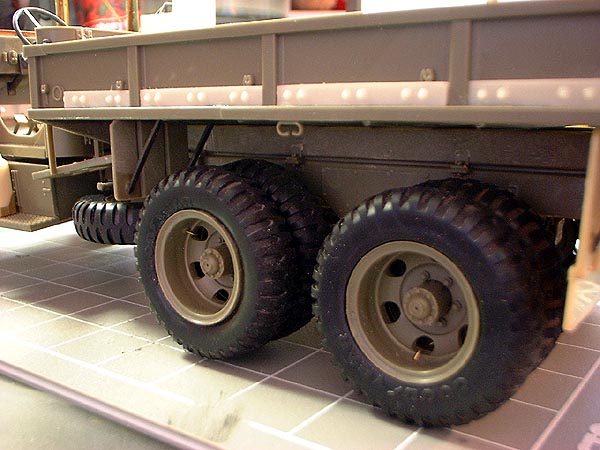
The
Bolt Strips on the outsides of the Cargo Bed
Walls were mounting points for the Fighting
Compartment. The Vietnam Truckers built
steel boxes for Fighting Compartments, that
could easily be hoisted by crane, up and
into the Cargo Bed of an available Cargo
Truck. They could subsequently be unbolted
and removed to place into another Truck if
the host vehicle was badly damaged and not
capable of being returned to service.
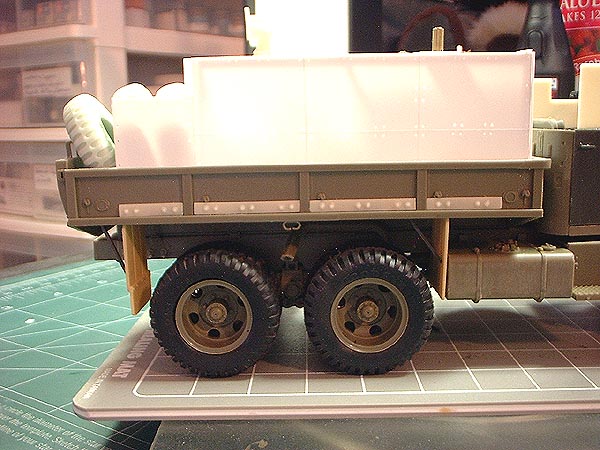
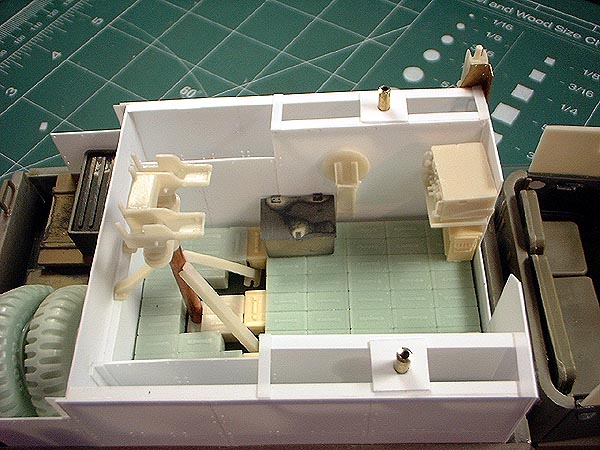
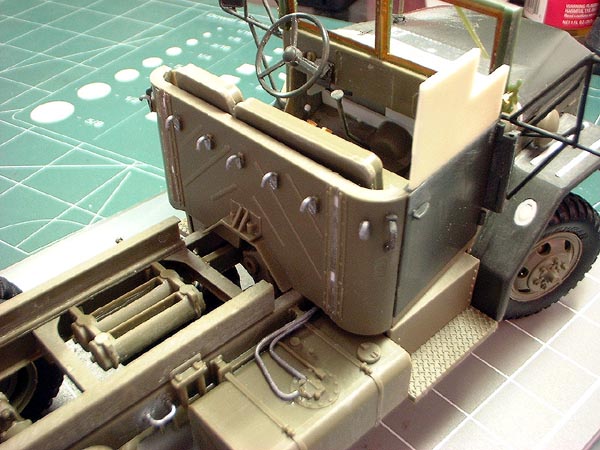
The
Fighting Compartment is made up of styrene
sheet panels, scribed where the individual
armor panels on the real "Sopwith Camel"
would butt against each other. I used to cut
the panels and mount them to a frame
individually - but this method is cleaner
and faster. Resin pieces are cast from
plastic masters made years ago - again a
better method than scavenging model kits
repeatedly for such items. Lesson learned,
as building a second miniature gun truck got
increasingly expensive buying kits to raid.
Nothing is glued into place at this time -
just press-fit for adjustments if needed.

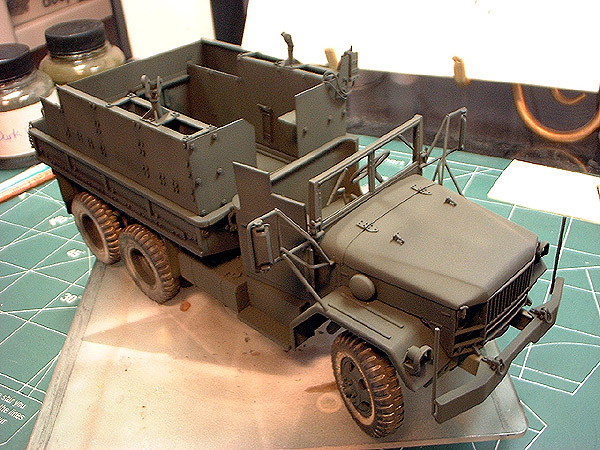

Since
I was building and joining subassemblies on
the fly, I had to paint as I progressed. The
Wheels and Hubs had to be finished for
mounting on the Chassis. Not a big deal -
just meant keeping hands off them. The base
coat is Tamiya XF-1 Flat Black, as shown in
the photos above. The first color coat of
Olive Drab, below, was then overcoated with
Black one time before application of gloss
for the graphics.

|
Chassis
Many of the detail
additions seen here weren't because the AFV
Club Deuce is deficient. When I began
"Sopwith Camel", I raided my spare parts bin
from past projects - and cobbled together
all the parts necessary to build a complete
truck - hence the explanation for all the
different colors. Many of the Cab components
came from my in-progress conversion/backdate
to the earlier gasoline-powered REO truck to
serve as a basis for the M4 LaCrosse Guided
Missile Launcher. The M35 gas-engined truck
has slightly different Dashboard and
external features as compared to the later
multi-fuel trucks that you can build with
the stock AFV Club model kit. To do "Sopwith
Camel", I just had to restore the details I
removed for the LaCrosse Chassis.
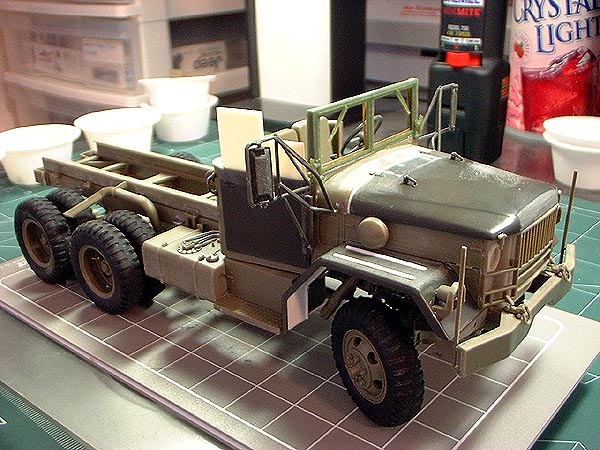

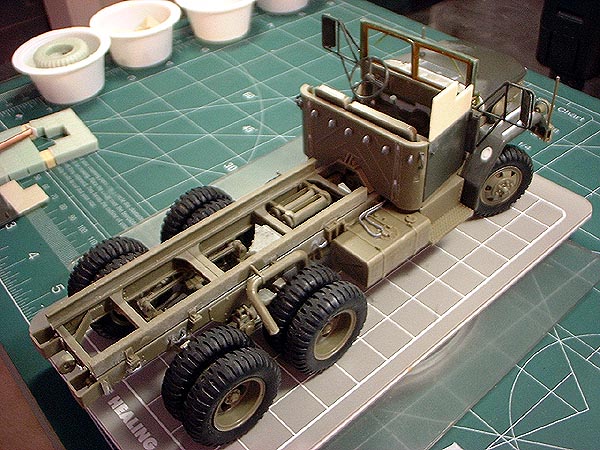

Of all the model truck kits
out on the market, AFV Club's Deuce will
forever remain my favorite. I know I say it
over and over again, but I love this model
kit. Brass Wire comes in handy to fashion
the Air Valve Lines for the rear dualies.
The Bolt Strips on the side of the Cargo Bed
walls are for mounting the Fighting
Compartment onto the truck.

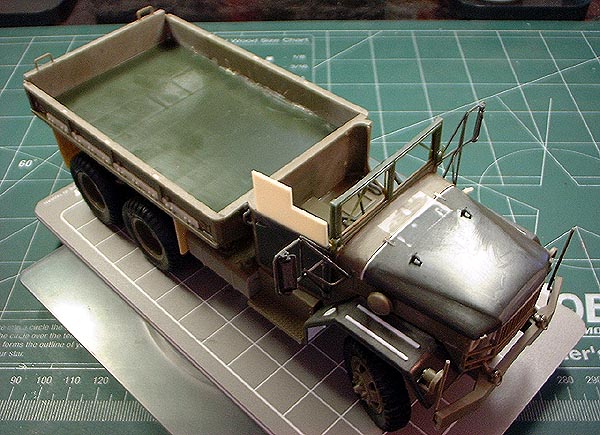
Barely tacked in place, the
Front Wheels cast a curious stance. The
completed model doesn't look like this,
however. The Radiator Panel is a resin
replacement, simply because I didn't have a
complete plastic part to use - all having
been chopped and cannabalized for
lowered-headlight units on other truck
projects. Below, the Tailgate and Rear Panel
of the Cargo Bed, with the Reflector/Light
detail removed and cleaned up.


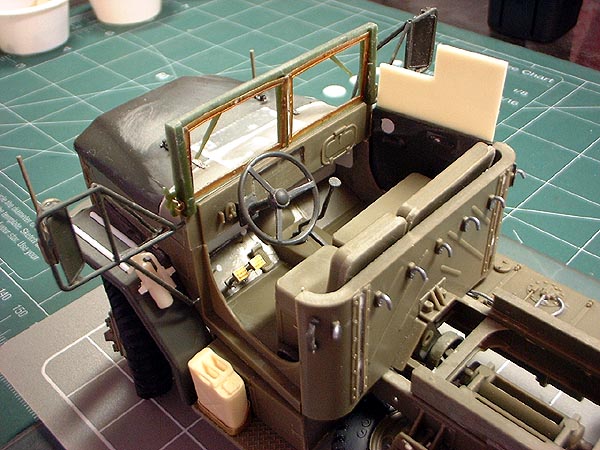
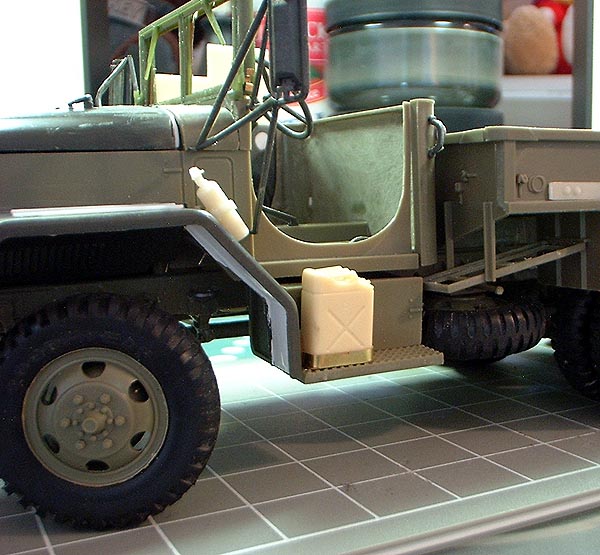
Above and below, the Cab
swiped from the LaCrosse conversion project.
It was to have a complete gasoline engine
compartment and an opened Hood. I removed
those parts for this project and set them
aside for another day - tape holding the
Hood into place until I could redo the
Hinges. At this point, I could have left the
Chassis alone, it's a nice rendition of the
basic Cargo Truck at this point.
|