|

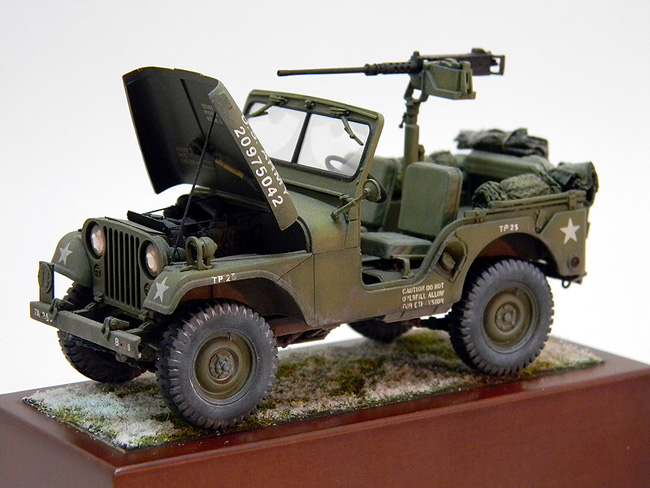
In progress photos
of the exquisite Skybow M38A1 Willys MD
Jeep, #TP3503. I'm outfitting this one for
the early '60's as a Cold Warrior stationed
near the Fulda Gap in Germany. The miniature
has been painted, highlighted, and shaded
just prior to application of markings.
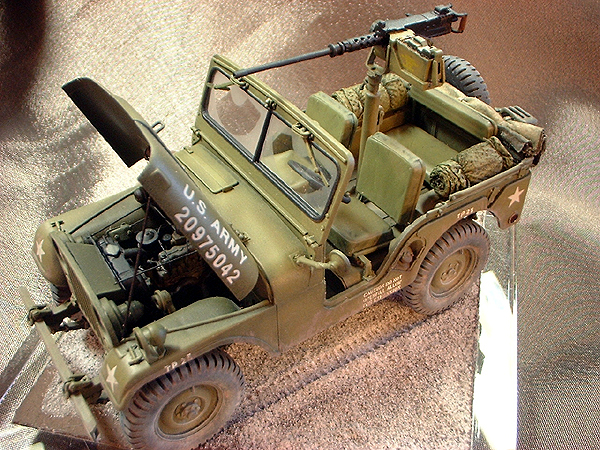
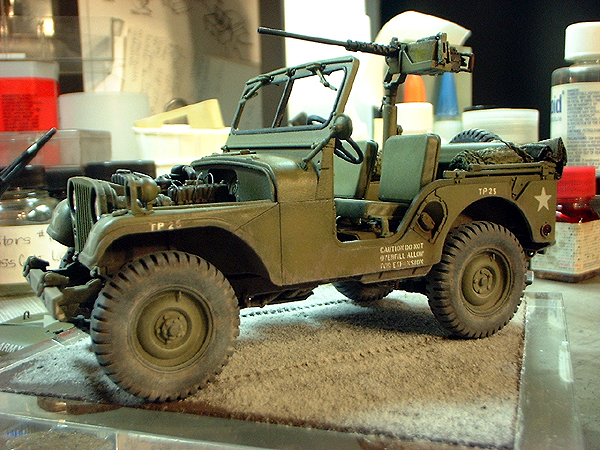
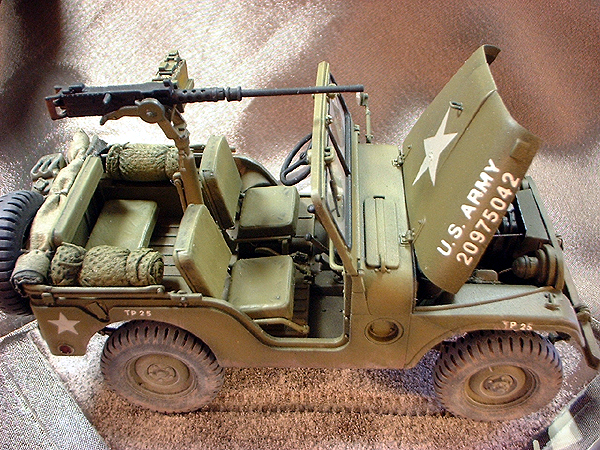
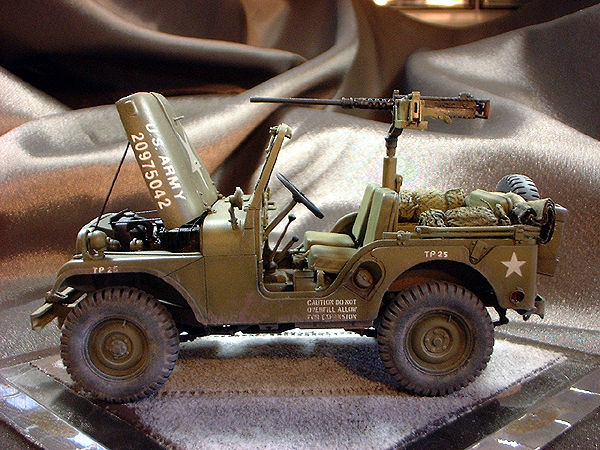
Three-quarter
beauty shots of the Skybow M38A1 Jeep posed
for the camera. This is one really, really,
nice miniature and gives the modeler quite a
lot just right out of the box. The details I
added are small, and only serve to add
additional depth to the detail already
present in the model kit. As a fan of 1950's
American Armor - this model screams to be
built!
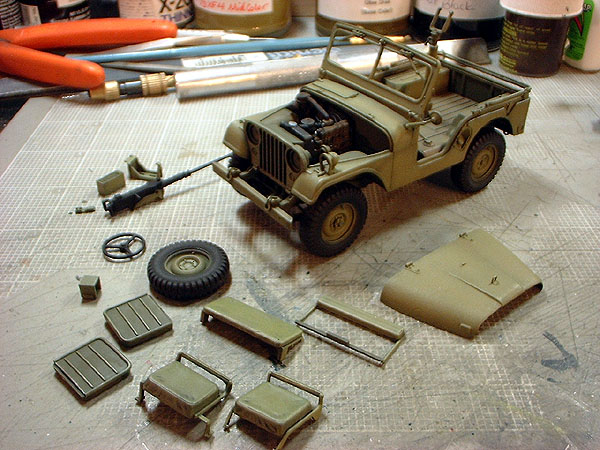
Lots of parts.
Actually, there aren't that many in the
Skybow model kit. It is easier and cleaner
to paint, finish, and weather them
separately - and add them to the miniature
in the end assembly. This helps to keep your
detailing crisp and sharp - and Skybow's
model kit is engineered to facilitate this
building style.
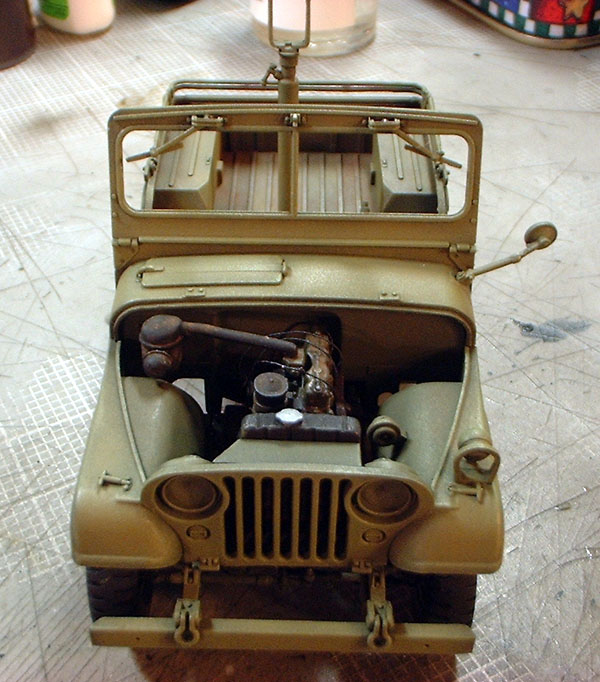
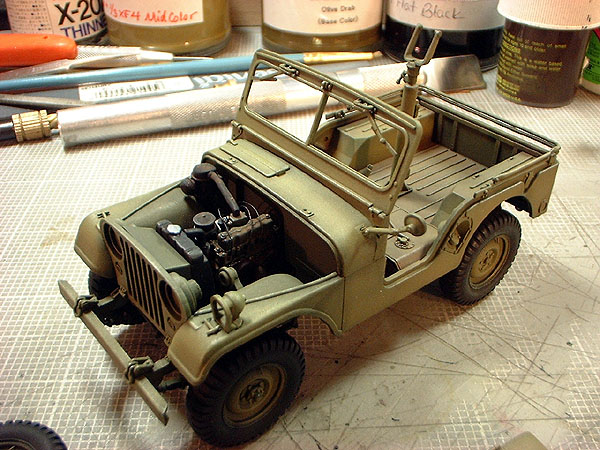
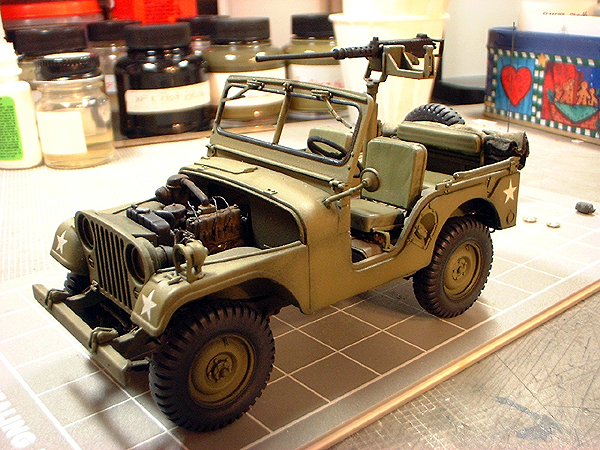
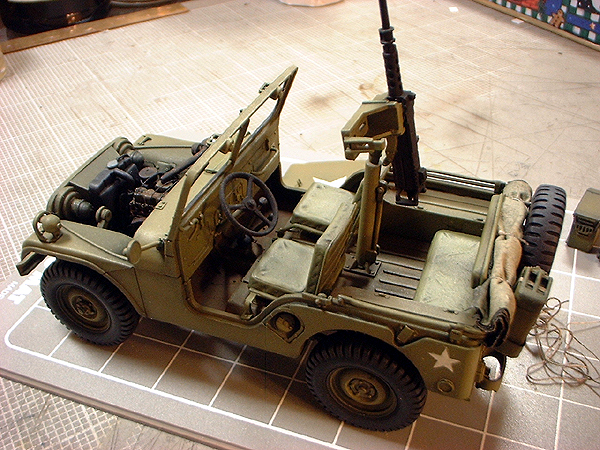
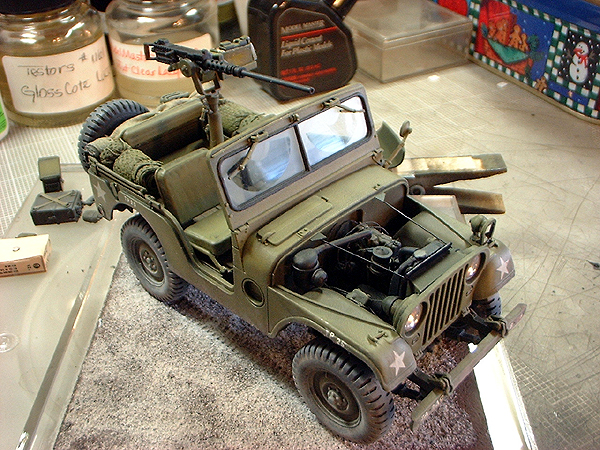
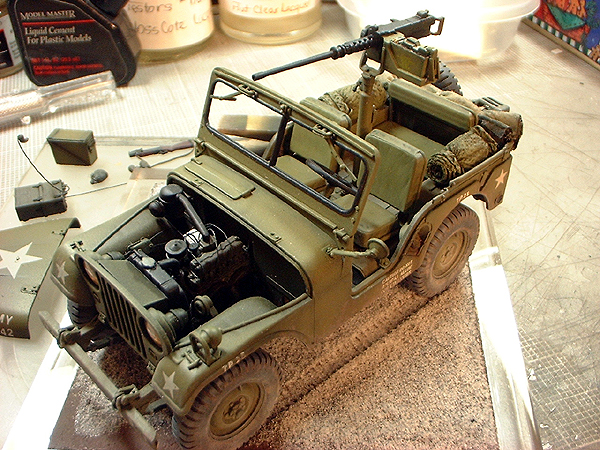
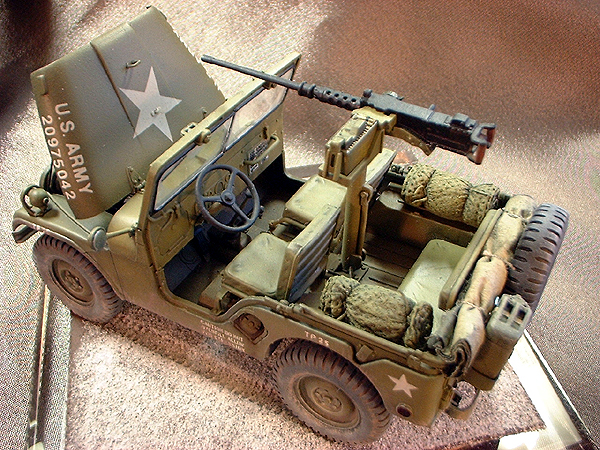
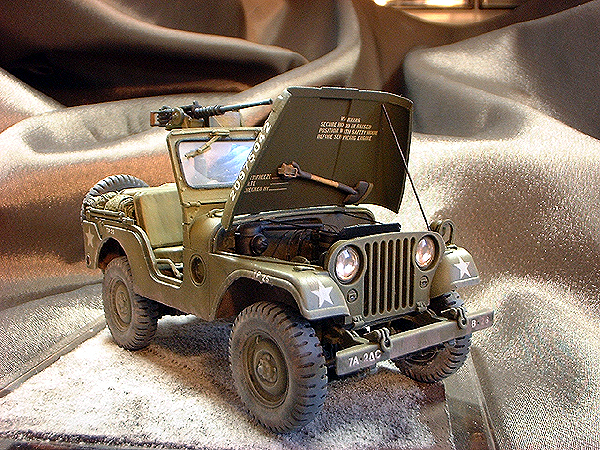
Above and Below:
The miniature engine is weathered by washes
of dirty brown and dark rust colors. The
basic engine wiring has been done here, but
the rest will be added later. The engine
compartment is rather barren (even in the
real vehicle), so this little bit of detail
goes a long way to adding some interest.
Note in the above picture that the machine
gun pintle is set off-center. Skybow got
this detail feature of the real M38A1 Jeep
correct - so don't go and try to "correct"
yours.
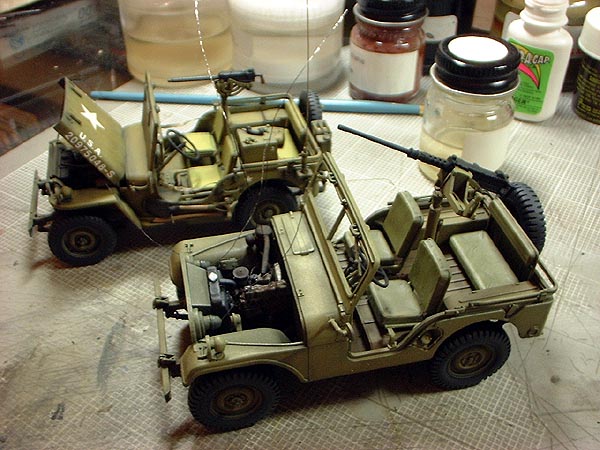
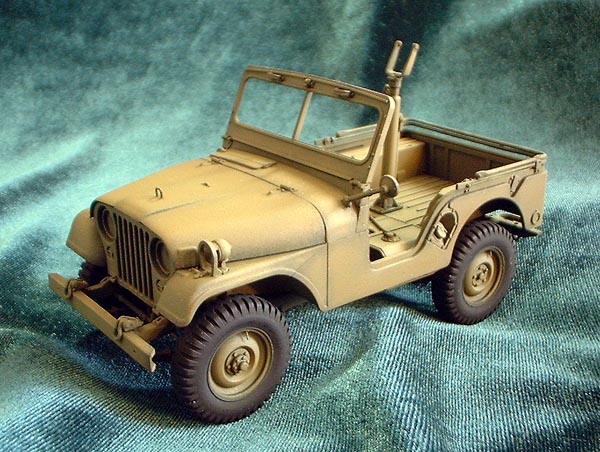
Sitting aside my
Tamiya Willys MB of WW II vintage, the
larger size of the M38A1 is apparent. What
is less apparent is the difference in
quality between the Tamiya and Skybow model
kits. Where the difference lies is in
engineering the fit of the parts and
subassemblies - here Tamiya wins hands down.
Both are nice builds, but the Skybow M38A1
Jeep is like an AFV Club kit - fussy.
However, if Tamiya were to produce a M38A1
Jeep - it would look like the Skybow
offering, and be perhaps a bit easier to
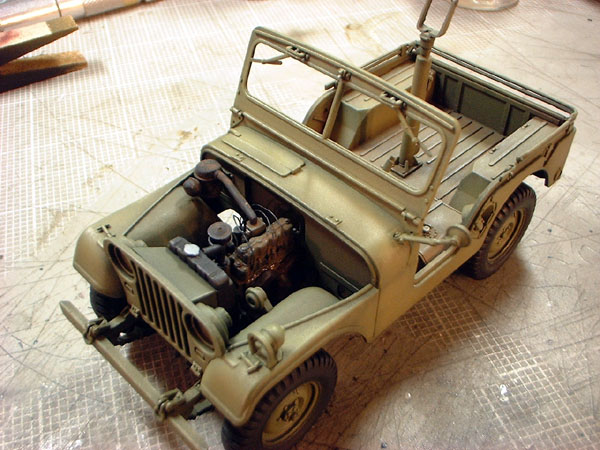
build. The above photo is taken during
wiring the engine compartment. This isn't
too difficult to accomplish at this stage of
building the miniature. Wiring is braided
embroidery thread painted Flat Black.
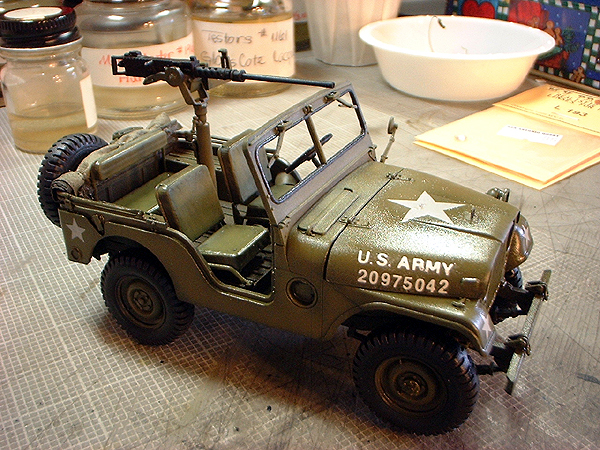
The next sequence
of photos are of the markings going onto the
Jeep miniature. Like in the comparison above
with Tamiya's Jeep, Skybow's markings are
similarly thick too. This is undesirable in
finishing armor miniatures, and I had to
sort around for replacements. First are the
US National Symbols. I turned to Italeri
waterslide decals, as they are always thin
and easy to apply. The "cloud" around them
is Micro Sol to get them to snuggle down and
adhere to the paint finish better. After
they dry overnight, I go back and remove the
residue. When Gloss Coting and Dull Coting
during the weathering process, this residue
disappears.

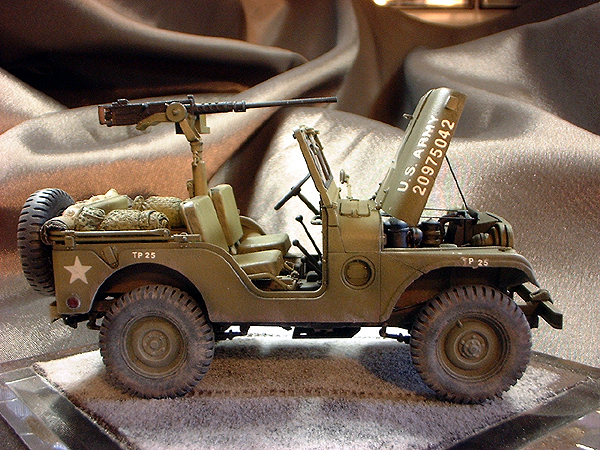
As the basic
miniature comes together, I also work on
smaller equipment, to be added in the end
assembly. Each item is a little model unto
itself, and I treat them like I would any
other miniature when it comes to finishing
and weathering. Not all should be to the
same degree - and not to the same degree as
the miniature vehicle that carries them. I
intended to model a M38A1 Jeep circa 1969,
but started working on a M79 Grenade
Launcher - a Blooper. I liked it, and might
decide to add it to this miniature instead
of a Gun Truck miniature. If so, I might
have to bring my Jeep a little bit forward
in time to accommodate the M79 Blooper. The
Fire Extinguisher is a Verlinden item, with
a scrap decal data plate. Simple detail and
finishing that adds color and spice to the
overall miniature. The Jerry Can is an
outstanding resin item from AP Bayardi, with
two rolls made from textured tissue paper.
The Binocular is a DML item and the Field
Radio is another Verlinden resin item. Not
in the photo is a tissue paper rolled length
for the top canvas.
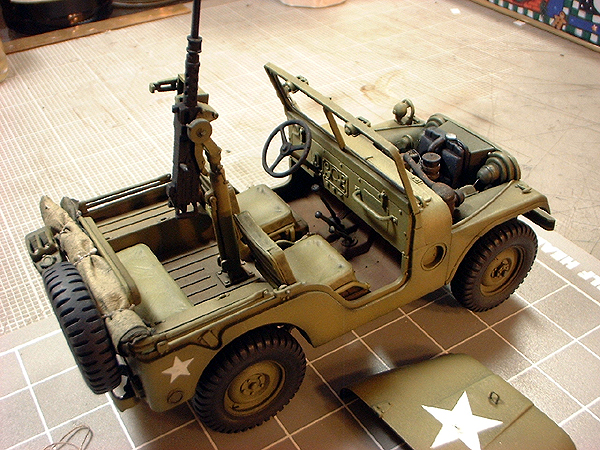
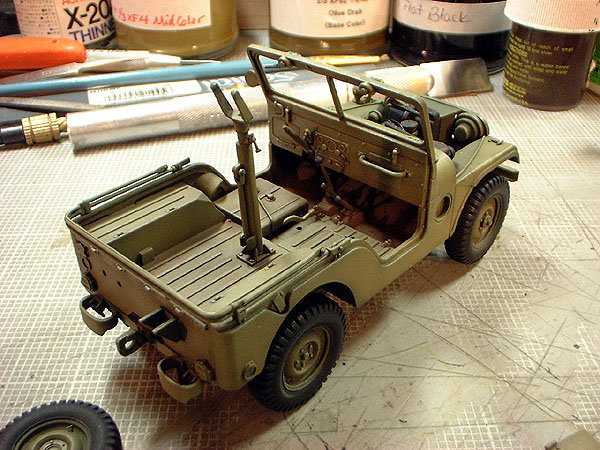
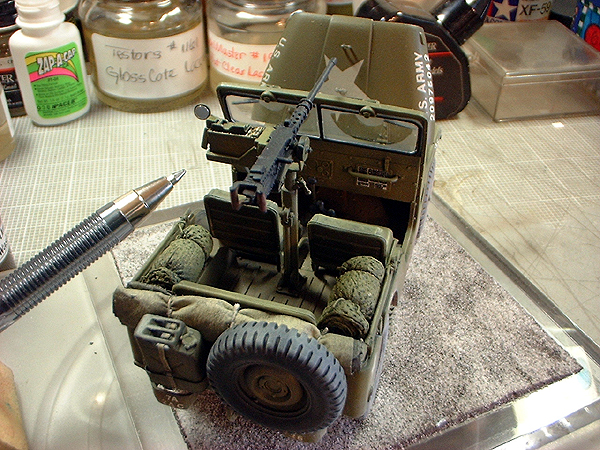
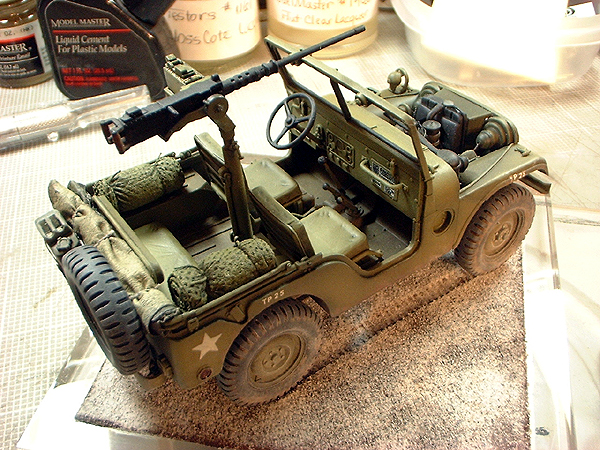
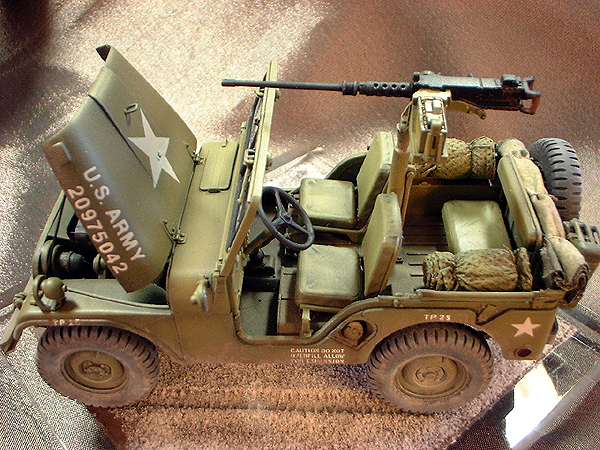
The floorboards in
the miniature are weathered with pastel
chalks - black, orange, brown, and
orange-brown. I wanted to model a
well-maintained vehicle, as most American
vehicles are, but a subtle hand is called
for in weathering. Below is a good shot of
the Micro Sol "cloud" around the decals at
they setup. With the National Symbols on the
model is beginning to look like a Cold
Warrior now...
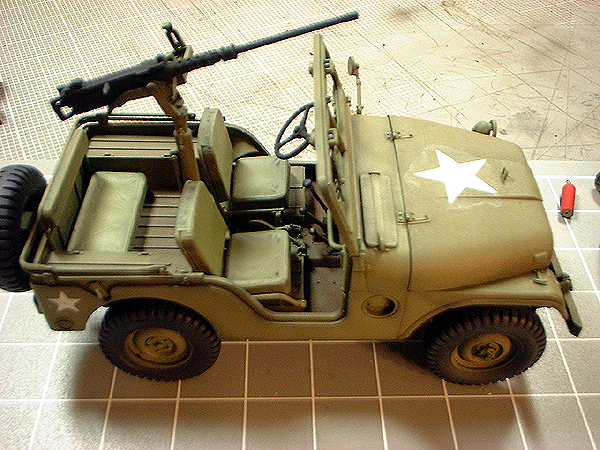
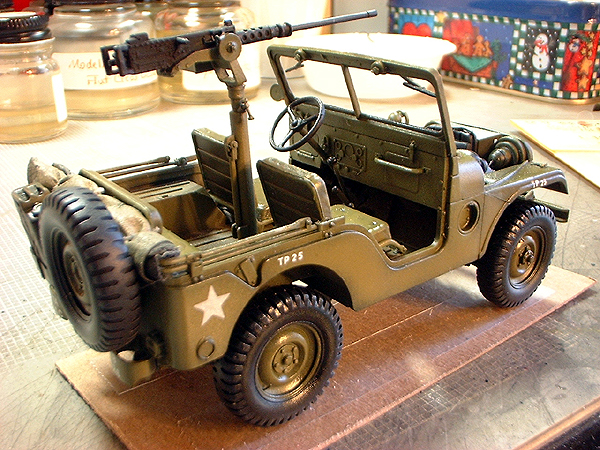
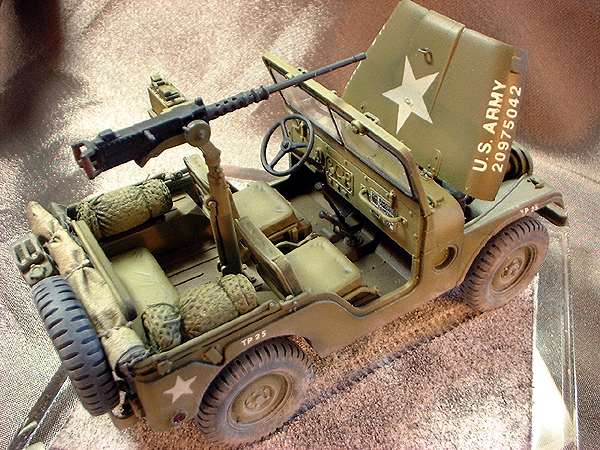
Further along in
detailing, the beginning of the windshield
glass rubber seal is being painted by hand.
I made a canvas top for my miniature, rolled
it up, and stowed it at the back on the top
bows. The canvas top is simulated with
tissue set into place with a water / white
glue mixture. I painted and weathered it to
a more faded state than the seats for
interest.
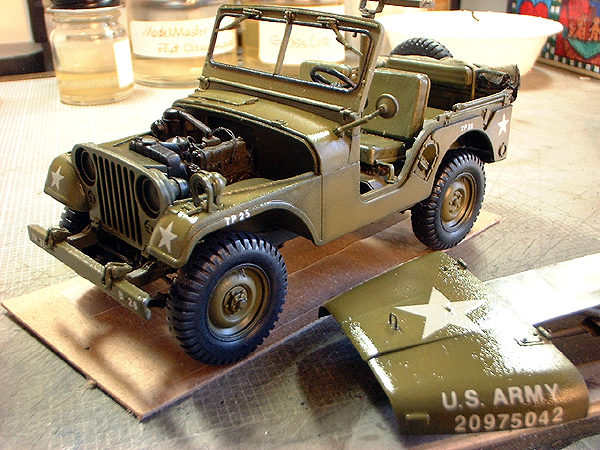
The other portion
of the rubber seal around the windshield
glass is molded on the clear plastic inserts
themselves, requiring them to be painted
separately. I also attached a length of
.010" solder to simulate the radiator
overflow drain tube. The paint from touch up
is still drying around the Radiator Cap. I
scratchbuilt the missing Spring Drum on the
50cal Machine Gun Mount. It's a small
detail, but with all the other details
already given in the Skybow kit, I was
compelled to add it. The Jerry Can is a
resin item from AP Bayardi, complete with
paper straps, brass buckle, and a
scratchbuild Holder made from Foil Sheet.


A simple jig for
gloss coating the miniature is had here in a
little length of cardboard, with two strips
of double-sided tape to lightly hold the
model in place. It's not meant for you to
handle roughly, or invert the model, but
does hold it in place firmly enough to allow
airbrushing the GlossCote from all angles
and prevents you from touching the model -
which would be horrible at this stage!
Continuation of
the decaling step in completing my
miniature. Here, the model had been lightly
GlossCoted to take dry-transfers. This is a
deviation from my usual method - that would
have me GlossCote the model prior to any
application of decals. This is the
recommended sequence, but I deviated from it
here because I had pre-trimmed Italeri
waterslide National Insignias already
prepped to go. I applied them with a water
solution that had a little white glue in it
which cuts out the shine of the decal if
applied to a flat surface.
The GlossCote
Lacquer is applied with an airbrush in a
single coat. I spray all areas of the model
- instead of just little spots where decals
go. This prevents patchy spots in the end
assembly. A single gloss coat is needed to
eliminate the shine underneath sections of
clear decal film. The Hood was glossed
separately.
Not happy with the
thickness of Skybow's decals, I replaced
them with Pre-Size and Railroad Scenics
#DT575 Gothic style dry-transfers. These are
nice renditions of the vinyl stick-on
lettering actually used on the real vehicles
at that time. Both the Pre-Size and Railroad
Scenics dry-transfers are easy to apply -
and don't dry out like Verlinden items. The
gloss coat here makes the application
process even easier, as they readily stick
to it. The real vinyl lettering was rarely,
if ever, applied with rock-solid precision -
so don't worry about it on your model. Apply
them carefully and you'll mimic the actual
vehicle nicely while adding a little
character and uniqueness to the finished
product.
|
Once the dry-transfers are applied
and burnished down, another light gloss coat
is applied over them to seal them in place
and protect them from weathering later on.
These thin gloss coats are enough to buildup
the thickness over the decals and
dry-transfers themselves, blending them into
the whole. Note the photo of the Hood below:
the shinier the gloss coat finish - the
smoother the final result will be when you
dull it all back down again. Light coats of
gloss lacquer over Tamiya acrylics smooths
out the final finish. This is a second
reason for applying the gloss coat.
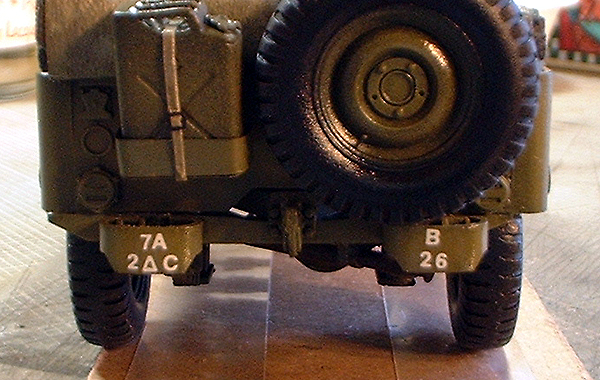
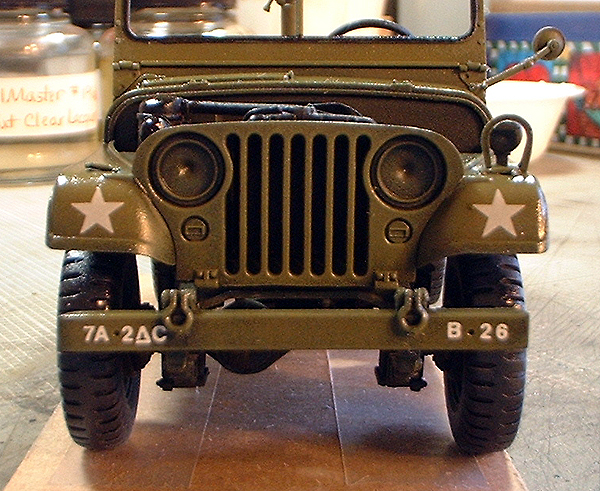
The Bumper Codes were done with
the Railroad Scenics #DT575 dry-transfer set
too. This small size fits the M38A1 Jeep
pretty well. This is a straight letter /
number jungle sheet, so everything has to be
applied separately, and burnished down. It
took me about two hours to apply all the
lettering to my miniature here. Symbols are
not included in this set. I made the delta
by applying a letter "A" first. I trimmed
away the cross-leg of the "A" with a
brand-new X-Acto blade carefully. I
burnished it down, and then applied an
inverted "T" to form the base of the
triangle. I trimmed away the leg of the
inverted "T" with my X-Acto knife -
carefully, and burnished the whole. Just a
steady hand is called for here to make the
Symbol.
All I
envisioned for this miniature was to place
it on an little patch of terrain, barren,
early winter with a light snowfall and
mud/dirt acculumation. Light amounts of
acrylic gel medium and pastels can render
these effects on a miniature, without going
over-thep-top like what appears to be the
norm in modeling magazines. I prefer a
subtle approach, with effects that are both
in scale and appropriate for the subject and
setting modeled.

Once the pastel weathering work
begins, it is "hands-off" for handling the
model. At this stage, it is mounted to the
acrylic display base with tiny drops of
white glue at the points where the tires
contact the terrain.


|