|
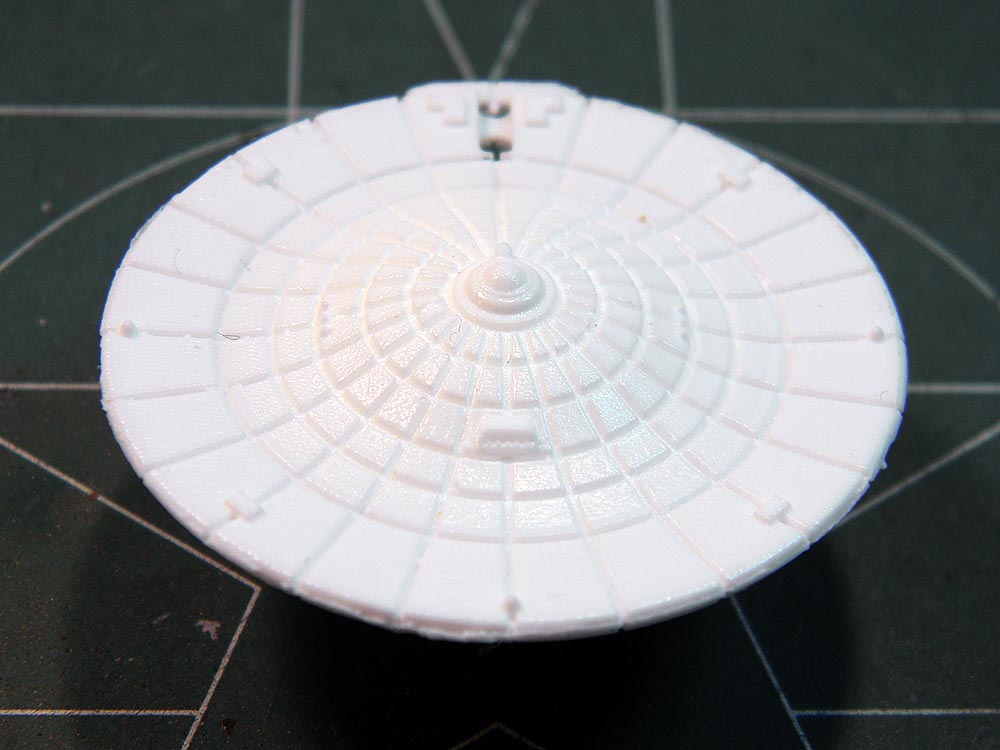
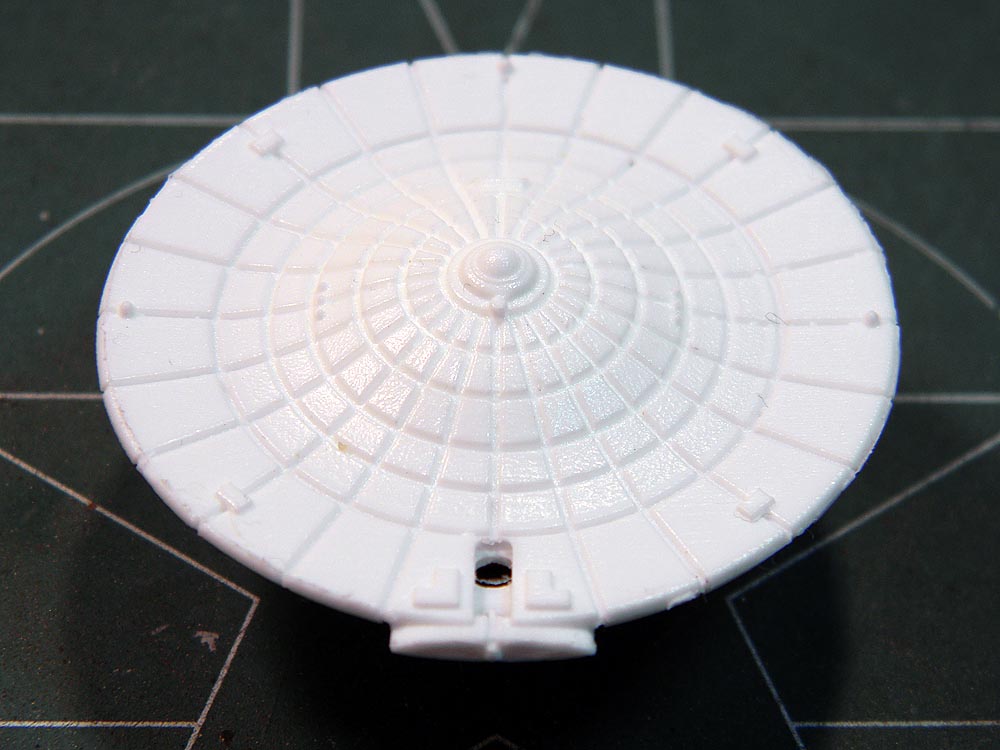
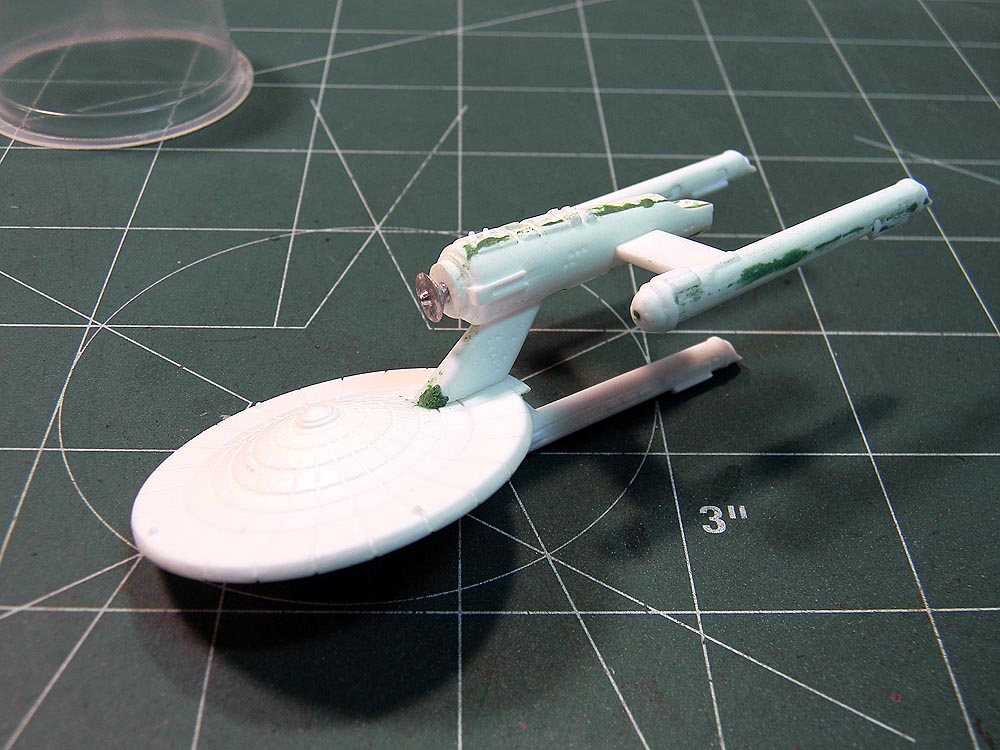
The primary hull in my
Squadron Box was well-done and relatively
free of blemishes and excess casting flash.
The first thing that struck me about these
new miniatures is the softness of the resin
- it will bend and give with rough handling.
It has a hardness like soap, and a sharp
knife can actually hurt you here more than a
used knife, as it will cut deep into the
material without much effort. Here, I had to
clean up the seams around the saucer's edge
and dig out some of the rubber mold that was
embedded in one of the Impulse Engine
exhausts. Of all the parts for the ships in
Squadron Box #1, this was the best-looking
of them all.
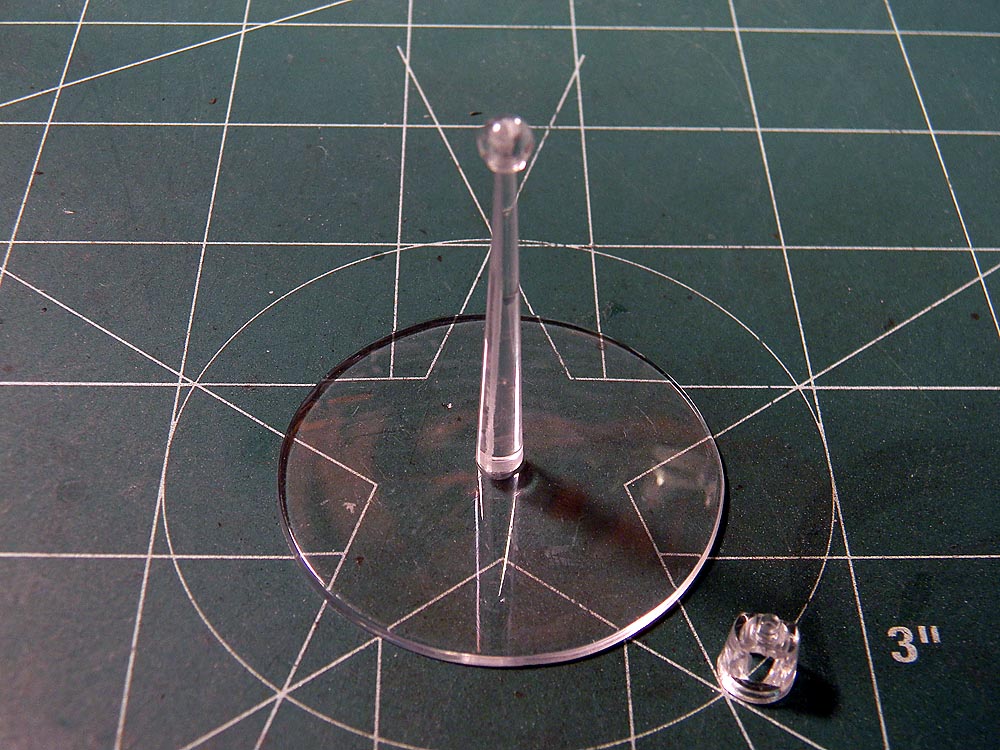
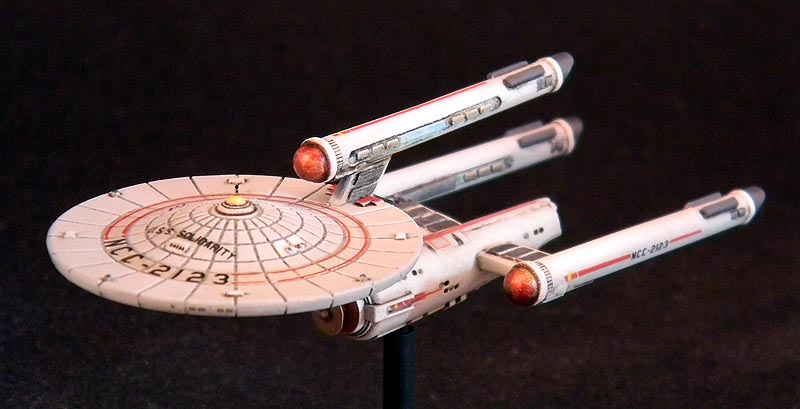
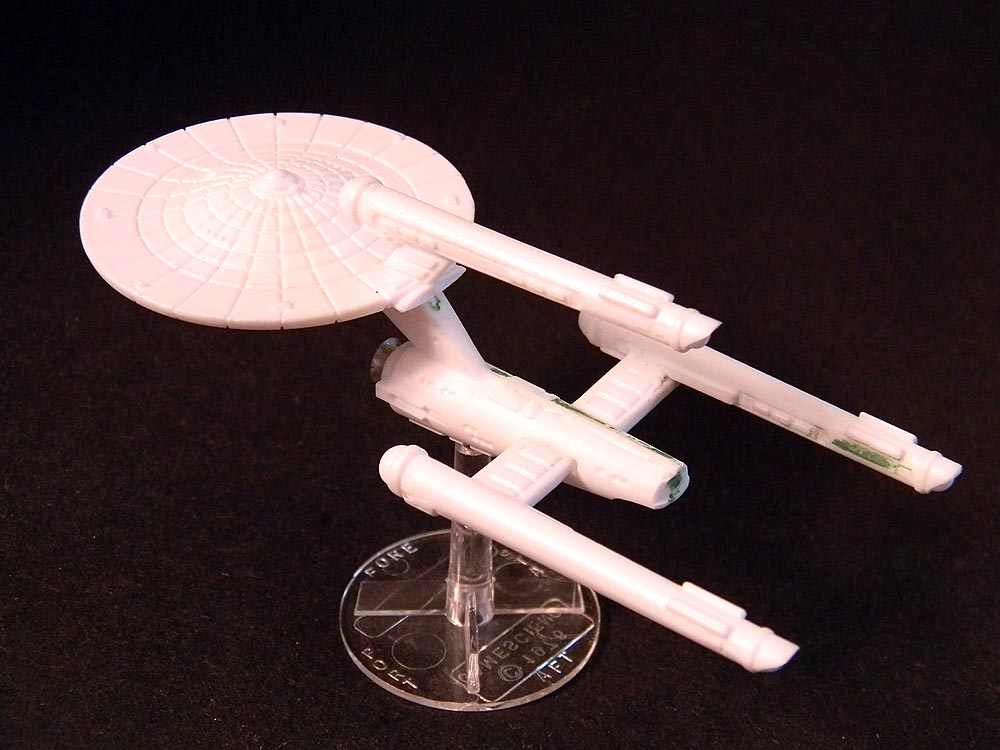
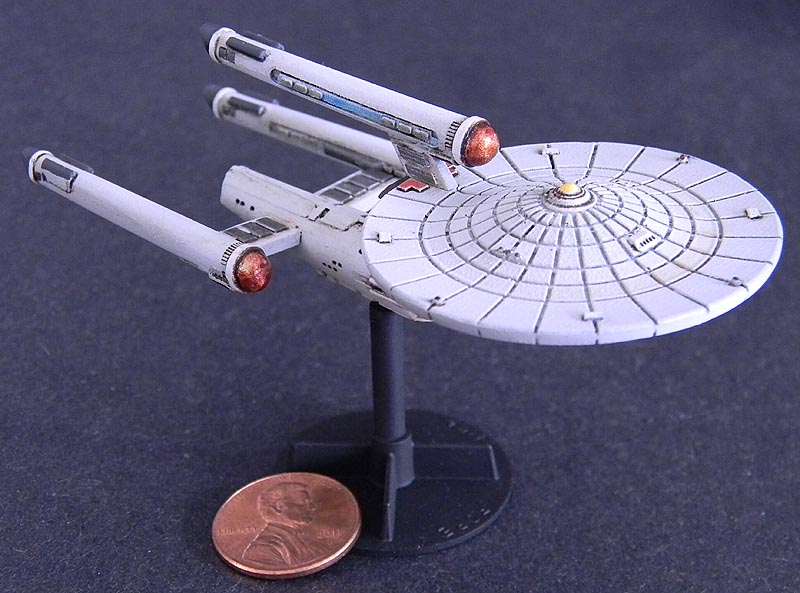
Above, the Stand that comes
with these miniatures allows for posing the
piece in exciting stances. The clear "hat"
is placed over the "ball" on the Stand to
allow for positioning. The "hat" is glued to
the bottom of the miniature starship, and
allows the owner to remove the ship from the
Stand for easier transport or storage. The
base of the Stand is two inches in diameter,
more than enough to ensure the lightweight
miniature has a secure footprint, and if
left clear can be used with a hex map system
as distances between ships are measured from
center of the stand to the opposing stand.
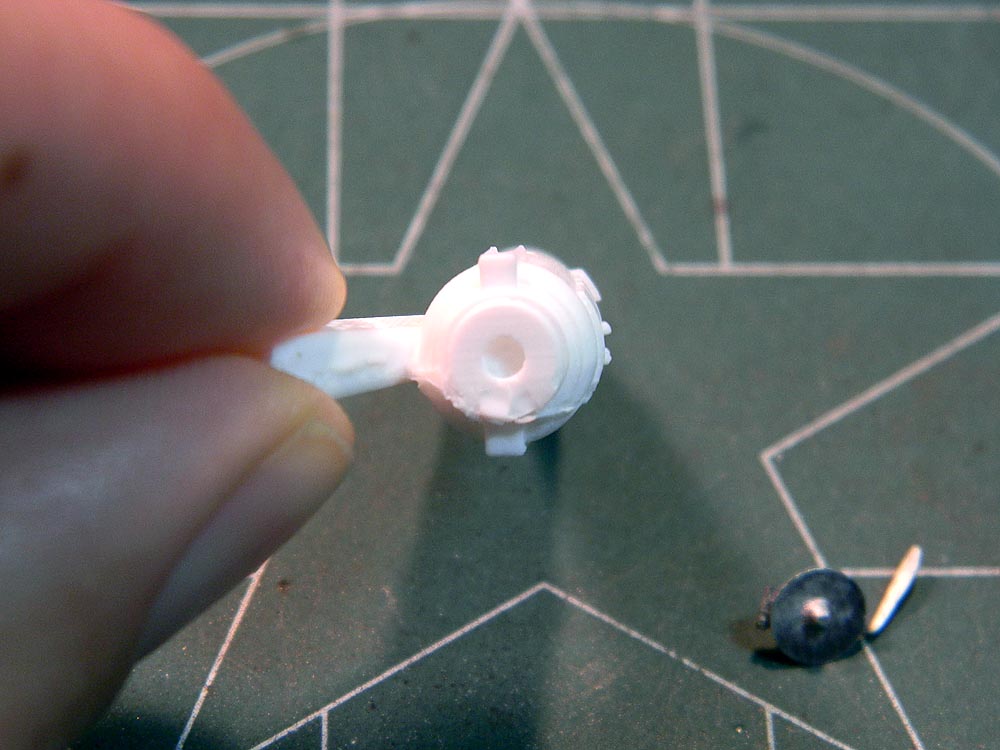
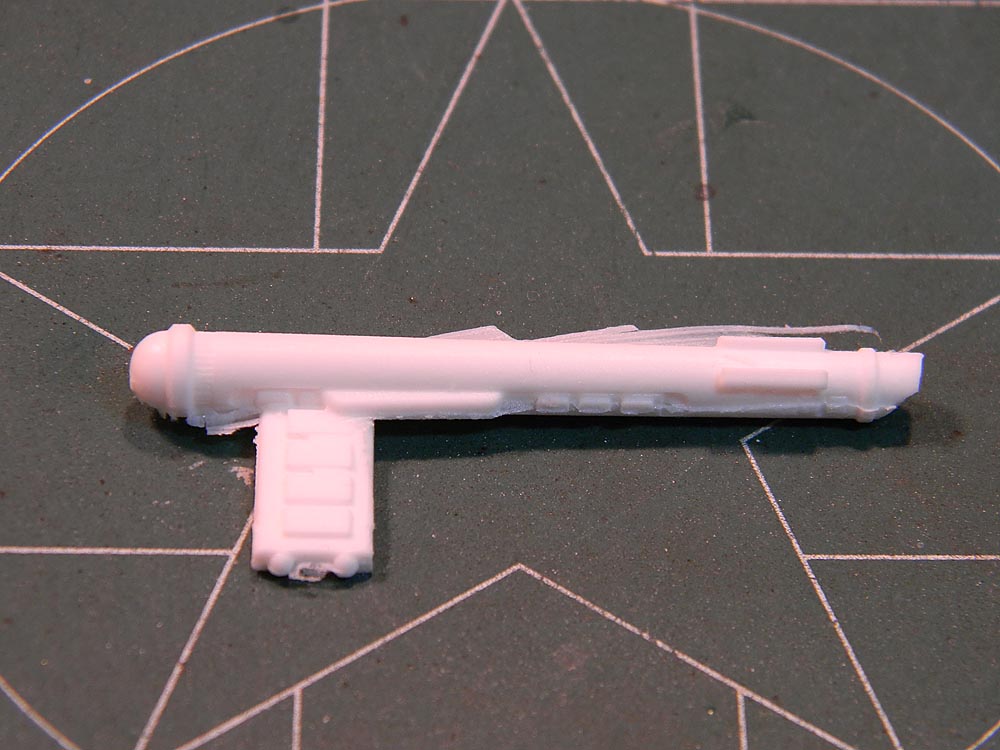
Clean up on the Secondary
Hull took some time and forethought. Above,
the mold seam left over from the pour mars
the Deflector Dish housing and proves
difficult to remove and keep it round.
Below, the mold separation goes behind the
Neck and I was left with some filling here
as well as reshaping. The Deflector Dish is
a white metal piece that slips into the
housing, just a quick clean up of the hole
is called for. I cleaned up the white metal
casting with a fine sanding stick to improve
the finish.
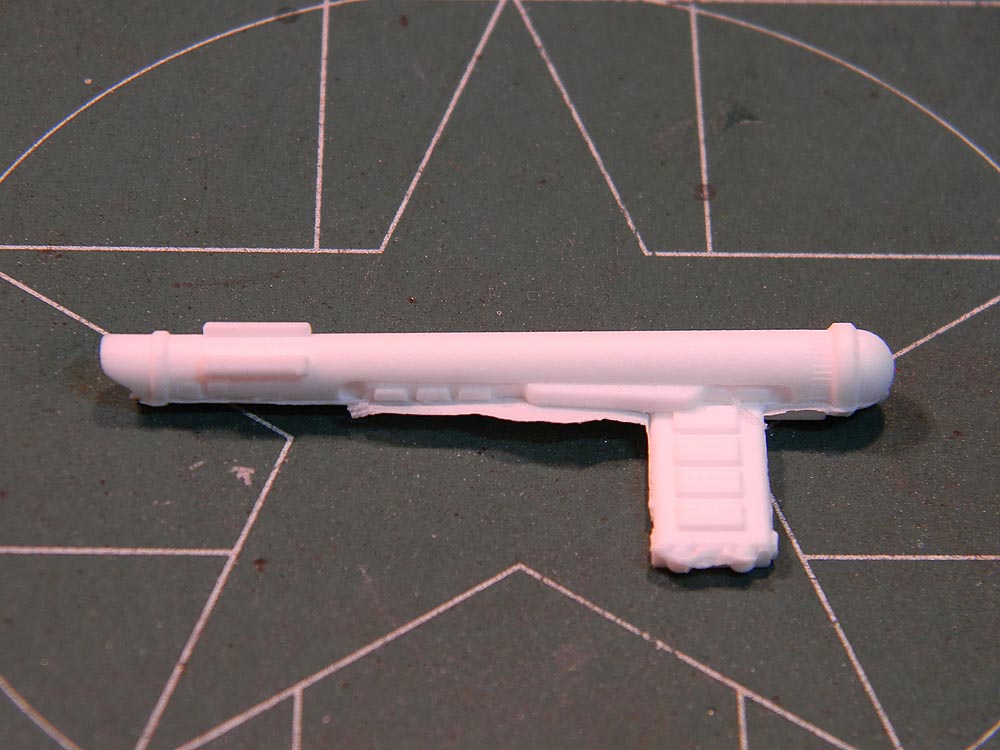
The Secondary Hull is
further marred by the placement of a pour
plug right over the Hangar Bay Doors -
completely obliterating the detail intended
for this area. Below, the mold parting seam
on the back of the Neck, and area calling
for filling and shaping. This mold seam ran
down the starboard side of the hull, just
right of the Strongback detail. My part was
slightly shifted in the mold, so the step
between right and left halves was pronounced
here and had to be addressed. I wound up
removing detail on the Neck during clean up
that I replaced with a length of styrene
strip - the Strongback detail that extends
up the Neck towards the Impulse Engines.
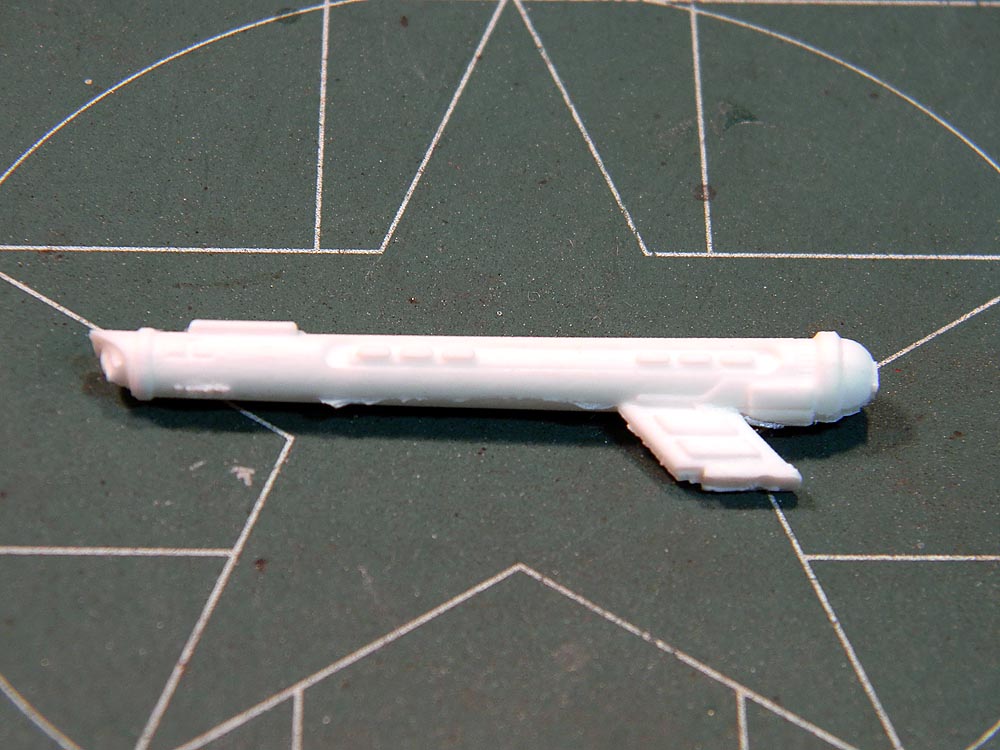
Above and Below, the Center
War Nacelle isn't bad, it proved to be easy
to clean up and did not warp during the
process. The pour gates on the end caps of
the Warp Nacelle caused a little challenge
to clean up and maintain a round profile.

Like the Center Warp
Nacelle, the outboard Warp Engines called
for patient clean up on the end caps, and
suffered from slight mold shift. In an
attempt to keep as round a profile as
possible, I used putty in the worst spots as
a filler. The way mold parts causes excess
flash that endangers detail during the clean
up process. Both of these castings were a
little soft, like the resin had not
completely cured, and I proceeded slowly so
as not to warp them during with clean up
activity. Neither are perfectly round, but
close enough so as not to detract from the
overall miniature.
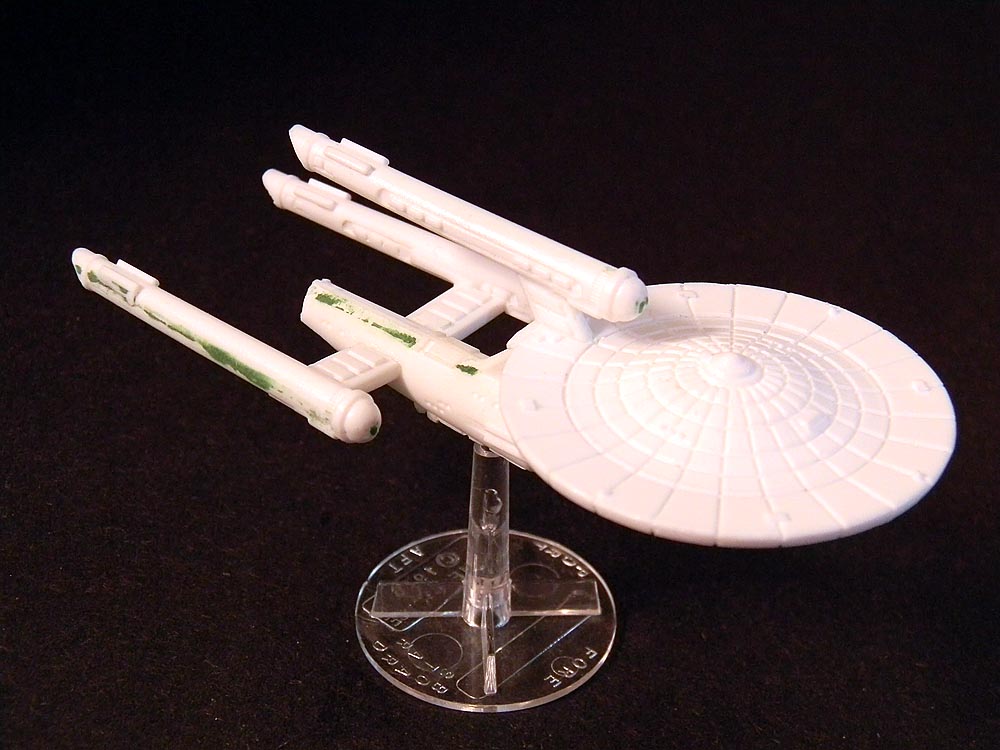
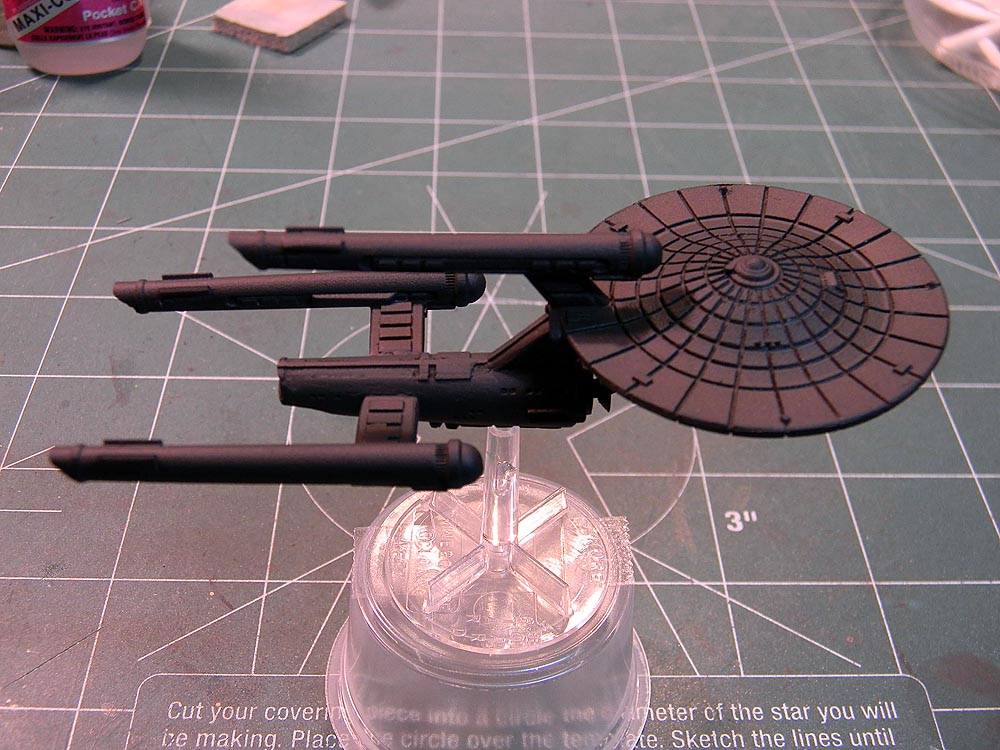
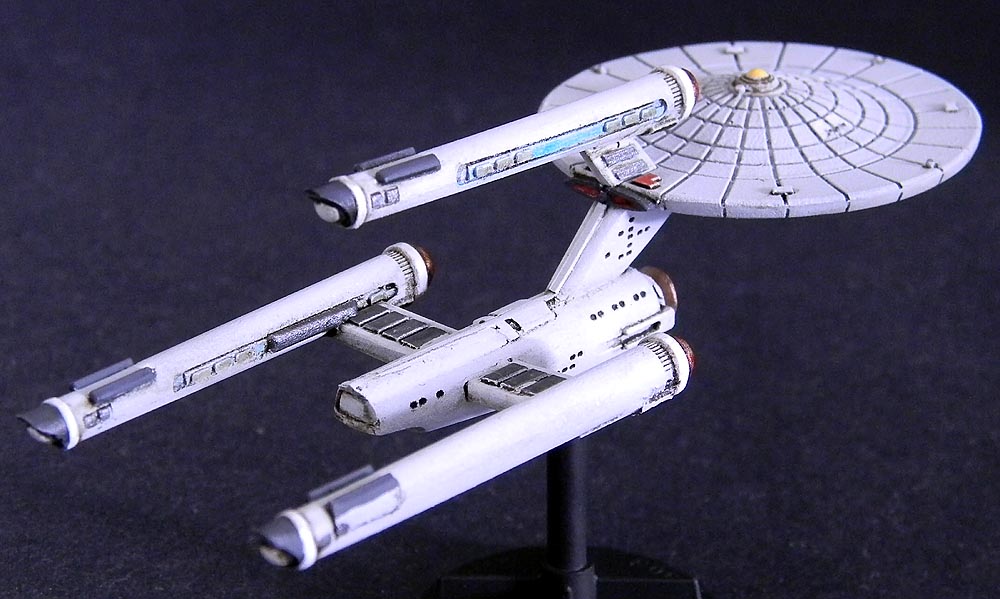
A few hours later, I placed
the Dreadnought Cruiser on a Gamescience
Stand in preparation for priming and
finishing. Yes, it does fit without
modification onto the Gamescience Stand, and
is quite secure due to its low weight. I
like the way it looks on the Gamescience
Stand and it is nice to have an alternate
option for mounting it..
I assembled the miniature
by first inserting the Center Warp Nacelle
into position on the Primary Hull. The
locating notch and bottom of the Nacelle's
Pylon must be cleaned up neatly - as the fit
is precise here when you insert the
Neck/Secondary Hull from below. I only
needed to use gap-filling superglue here to
bond the parts together. With the Center
Warp Nacelle, Primary Hull and
Neck/Secondary Hull properly aligned and set
with a little drop of superglue accelerator,
I then set the starboard outrigger Warp
Nacelle in place. Checking the alignment
before setting in place with a drop of
accelerator, I finished by placing the port
Warp Nacelle in place. All in all, perhaps
five minutes or so from start to insertion
of the Deflector Dish.
|
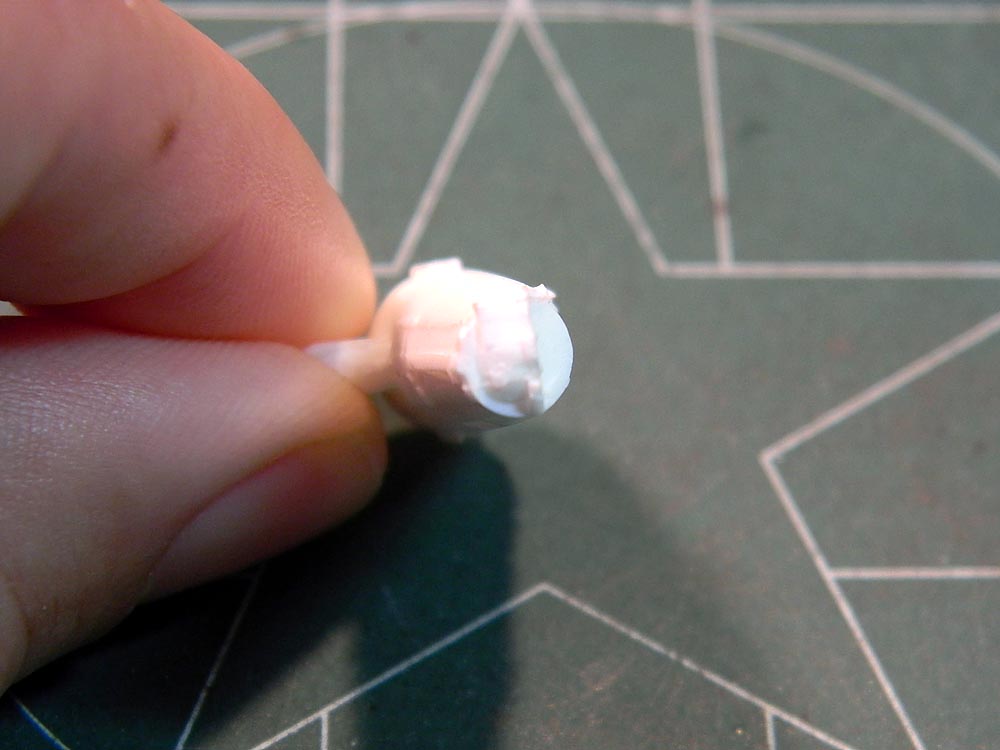
The
putty work on the underside of the
Dreadnought Cruiser, location of the worse
mold shifting and clean up. It was just a
nasty task, and took some time not to
obliterate all the detail here. In both
photos you can see the forward left tip of
the Neck is missing on my example. I thought
maybe it had broken off during shipment, but
I couldn't find it in its ziploc bag. In the
bottom most photo, I build a putty fillet to
replace this detail, not yet sanded smooth
in this picture.
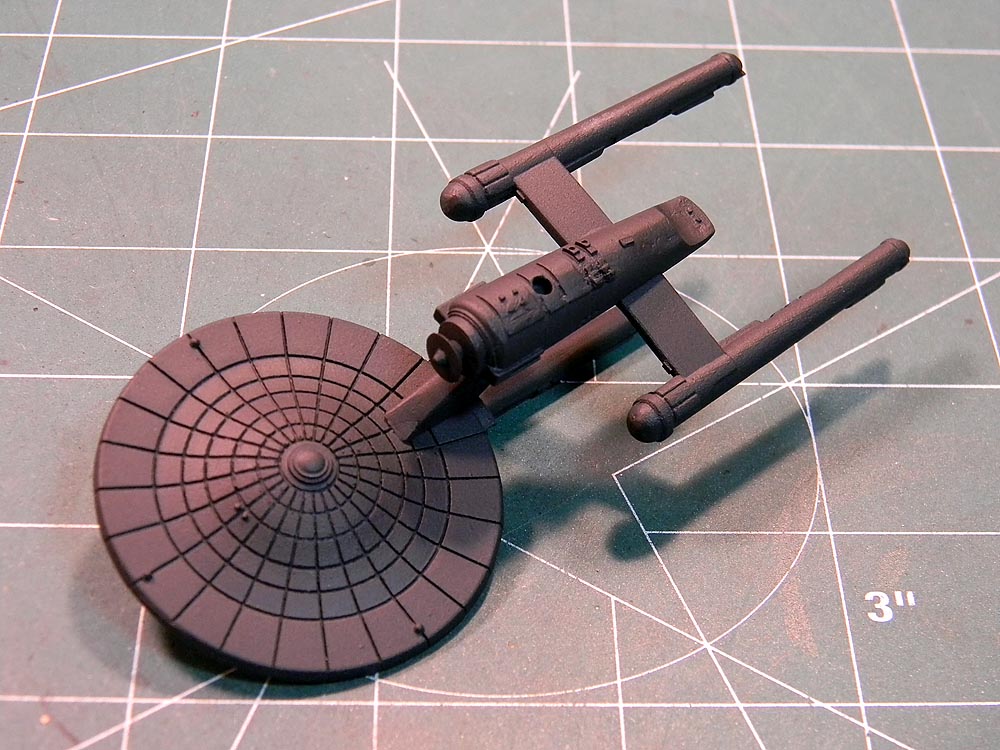
 The bright white resin
plays havoc with the camera, and your eyes,
during assembly and clean up. When you get a
coat of primer paint on it, however, the
detail on the miniature pops out at you - as
do the flaws. All of your effort in
puttying, repair and filling will reward
you. It is difficult to see every flaw in
the bare white resin before you prime it
with paint, so don't be surprised when you
find some spots to address when you put
paint to the mini. The bright white resin
plays havoc with the camera, and your eyes,
during assembly and clean up. When you get a
coat of primer paint on it, however, the
detail on the miniature pops out at you - as
do the flaws. All of your effort in
puttying, repair and filling will reward
you. It is difficult to see every flaw in
the bare white resin before you prime it
with paint, so don't be surprised when you
find some spots to address when you put
paint to the mini.
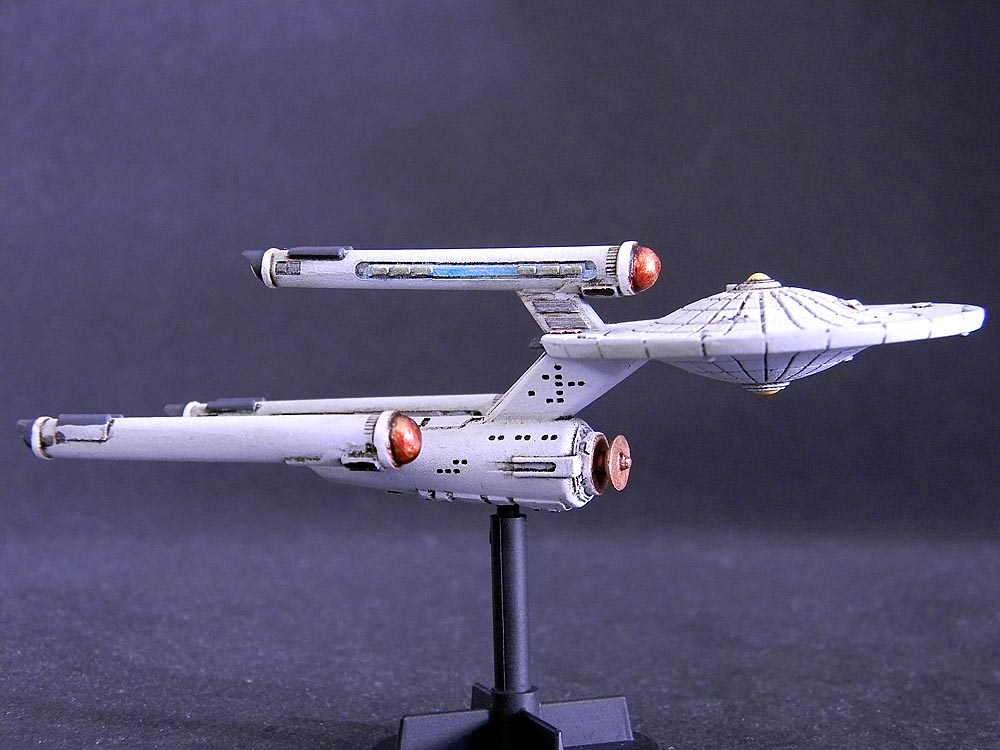
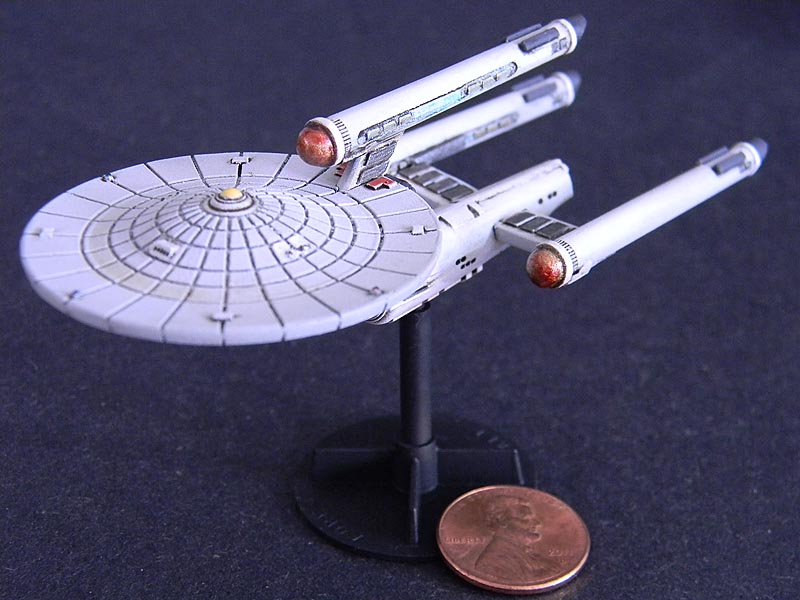
When it came to
applying the color coat, I airbrushed Model
Master Acryl #4763 Flat Gull Gray and then
applied a thin top coat of #4769 Flat White
in a fine, cloud pattern, taking advantage
of the deeply engraved and raised details on
the miniature. With the larger size it's
easier to airbrush some weathering effects
by varying the tone of the finish. I picked
out all of the smaller details with the same
Vallejo Acrylics that I use on the smaller
Starline 2400 gaming miniatures. Because
there is more details to pick out - it takes
longer to paint - but the result makes up
for it. The Starline 2500 mini comes to life
as you pull the details out with careful
painting.
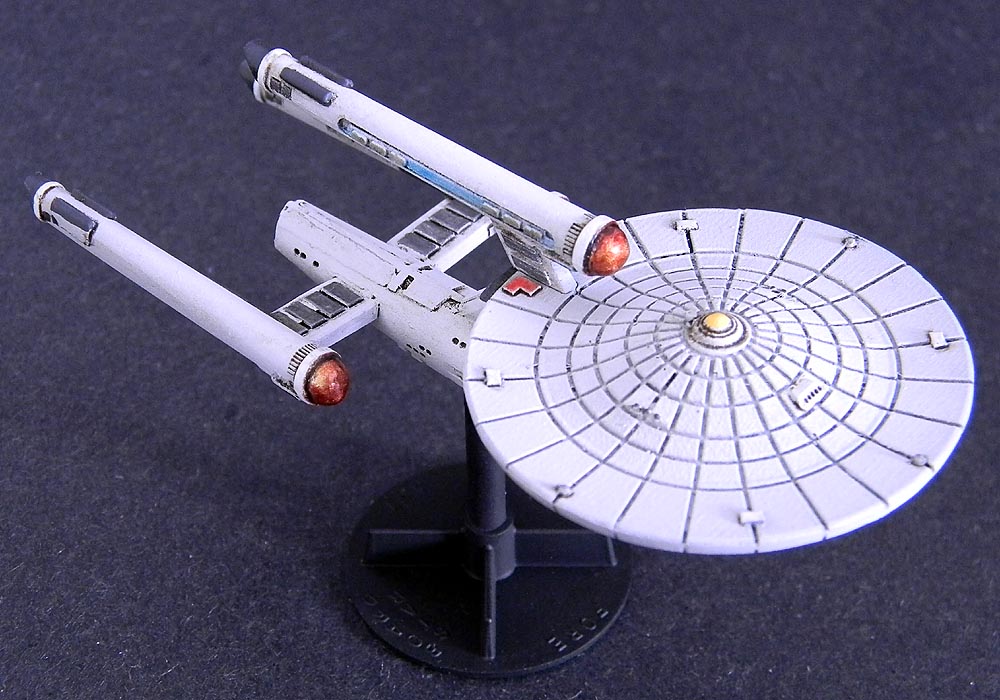
A little hesitant to
apply an overall wash with the deeply
(overly for my tastes) engraved Deflector
Grid detail on the saucer, I thinned down an
AK Interactive Dark Brown for Green Vehicles
enamel pin wash. I avoided enhancing the
Deflector Grid lines any more than they
already were after the airbrushing, but did
flow a highly thinned mixture over them to
bring the whole area into harmony with the
rest of the weathering on the miniature.
Taking no chances with the wash, I let it
setup for 30 minutes and gently removed the
excess. Once satisfied, I then coated the
miniature with Polly Scale Satin for later
decaling.
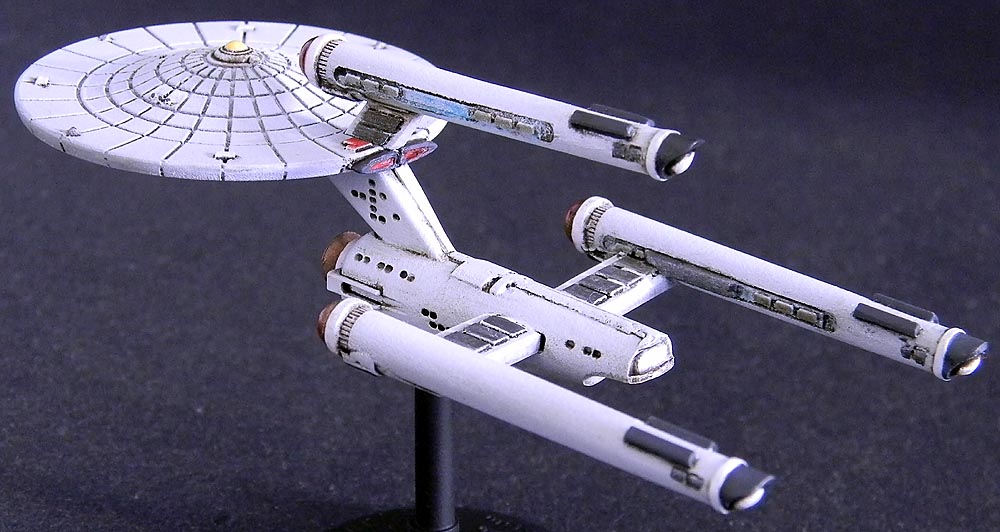
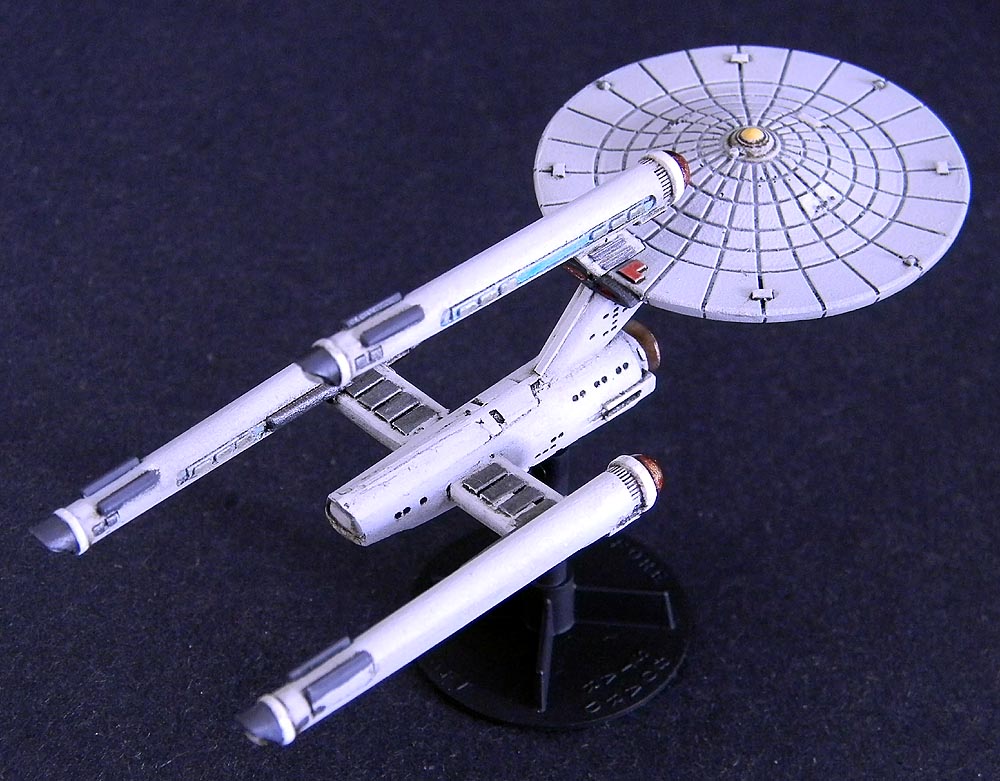
Despite the rough
surface detail, which I think is an artifact
of the CAD "growing" process, the Starline
2500 miniature comes to life when you start
picking out details. The larger size and
abundance of raised detailing makes this an
easier proposition, and as you proceed,
you'll find yourself moving along faster and
faster - kinda a fun rush to the finish
line. Despite its problems and warts, a fan
of SFU gaming miniatures will certainly love
the end result. From the casual viewing
distance on a game table, these Starline
2500 miniatures look great.
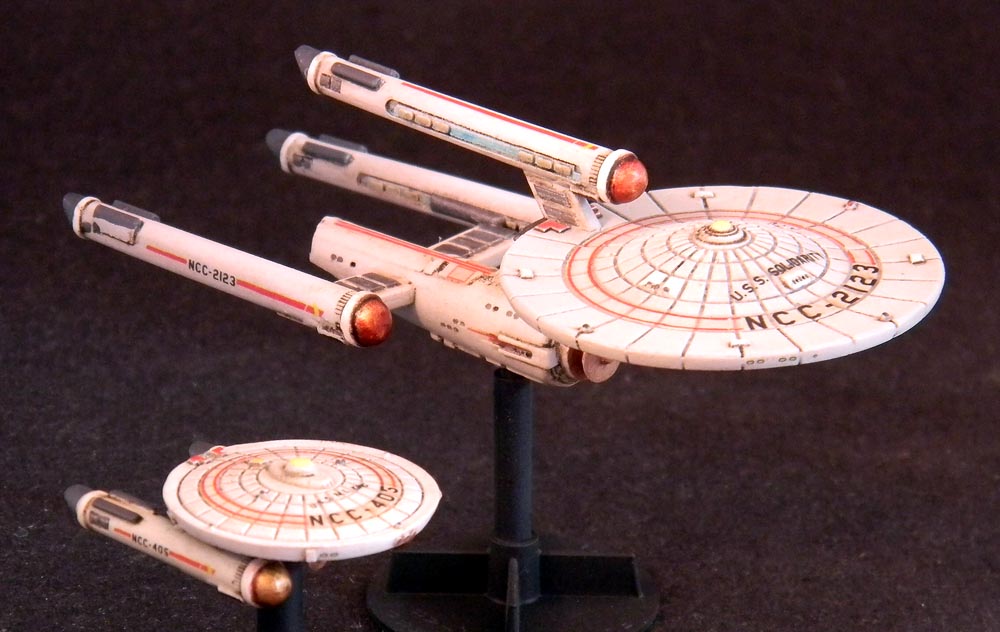
The Federation Missile
Dreadnought's locating hole for the Stand is
already a diameter that will also
accommodate the Gamescience Stand shown
here. I decided to use it after plugging the
relatively tiny Burke-class Frigate onto the
Mongoose supplied Stand. The "hat" is nearly
half as big as the Burke-class Frigate
itself - and breaks up the impression the
mini makes when viewed on the table. So, I
decided to use Gamescience Stands for my
first five Starline 2500 minis.
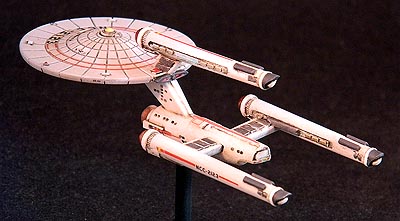
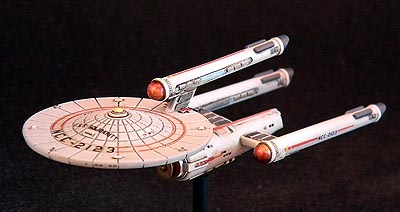
Below, the set of
custom decals created by Tenneshington Decals
applied to the miniature. I also ordered a
set of Combat Leader Rings for the saucer,
as i really like this look. I intend for all
my Federation starships in the Starline 2500
line to be marked with the Combat Leader
Rings.
|