|
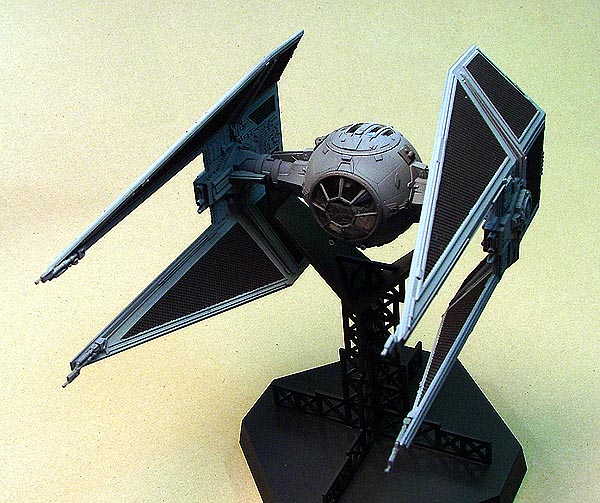
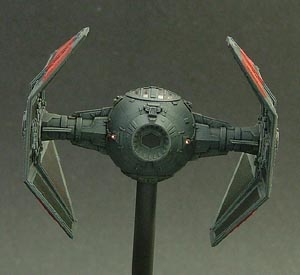
Fine Molds excellent TIE
Interceptor very nearly builds itself. I've
already covered the building of the basic TIE Fighter (SW-2), and the
commentary is applicable here so I won't
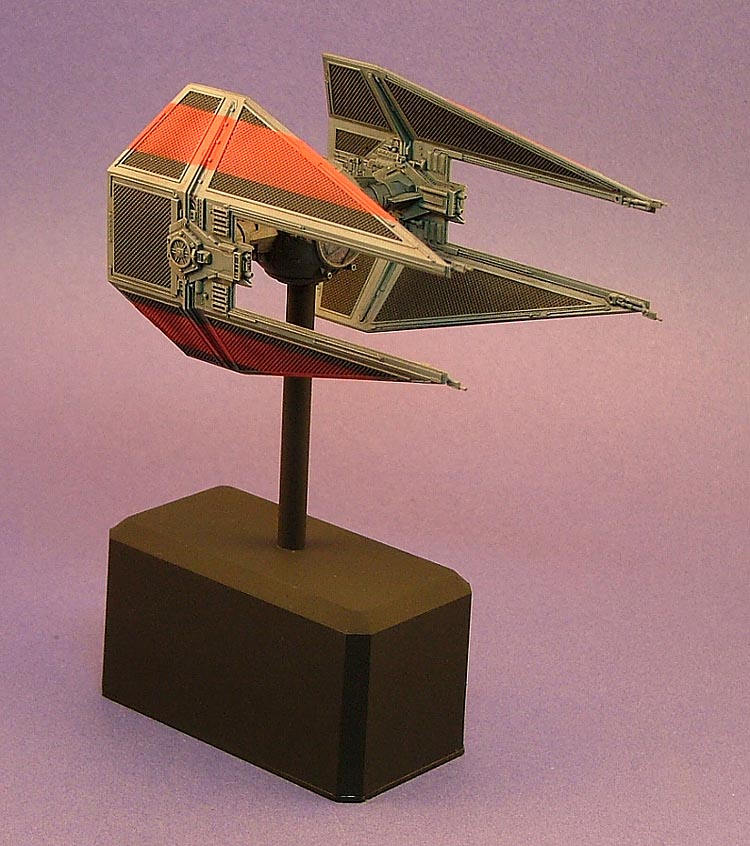
repeat it again. Not intending to light my
little miniature, I used the stand provided
by Fine Molds in their model kit.
This is okay, it kinda
mimics the spaceborne racks these ships hang
when berthed inside capital ships. TIE
Fighters and Interceptors can also make
planetfall and land on their wings, one
standard TIE is shown sitting on the Landing
Bay deck of the Death Star I in the 1997
remastered SW: Ep IV ANH movie in a
background shot. The TIE Interceptor is not
shown, however, and I didn't want to try and
figure out how to make my miniature balance
on it's wings for display. The next model
will probably be mounted on a tube for
lighting.
|

|
|
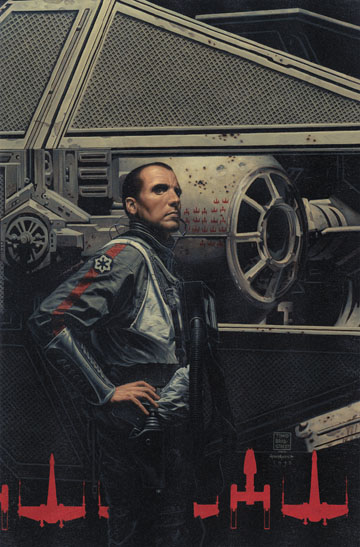
Imperial Ace, Baron-Colonel
Soontir Fel - greatest of all Imperial
Pilots is really captured well in the above
photo. Never bested in combat, save for one
instance where his ship (Saber 1) was
knocked out in a dogfight with Rebel Alliance Y-Wing Ace
Colonel Horton Salm, Fel
fought for both Imperial and Alliance Forces
throughout his career. His adventures are
chronicled in several excellent Star Wars:
Expanded Universe novels.
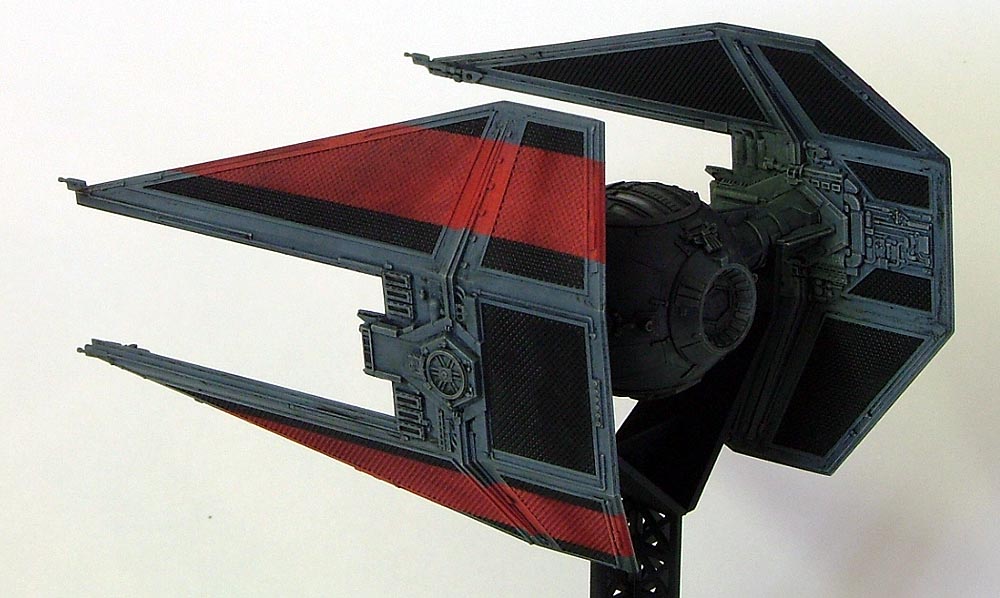
When Fel adopted the blood
stripes on his ship, all Imperial Aces did
after their 10th kill, I found inspiration
to model both his ship and his Rebel
adversary Colonel Horton Salm's fighter
craft as a pair for my collection. Having
already built the standard Fine Molds TIE
Interceptor, I literally flew through this
version. It is a joy to build, goes together
even faster than the TIE/Ln - In model kit.
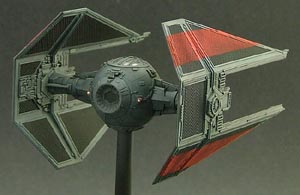
The best part of building "Saber 1" was that
I could add both a bold splash of color and
weather it more than TIE Fighters seen on
the screen. The elite Imperial 181st Fighter
Squadron fought some serious scrapes with
the best the Rebel Alliance could put up
against them. The inspiration for the blood
stripes came from drawings in the Star Wars
Comics telling some of Fel's exploits.


|
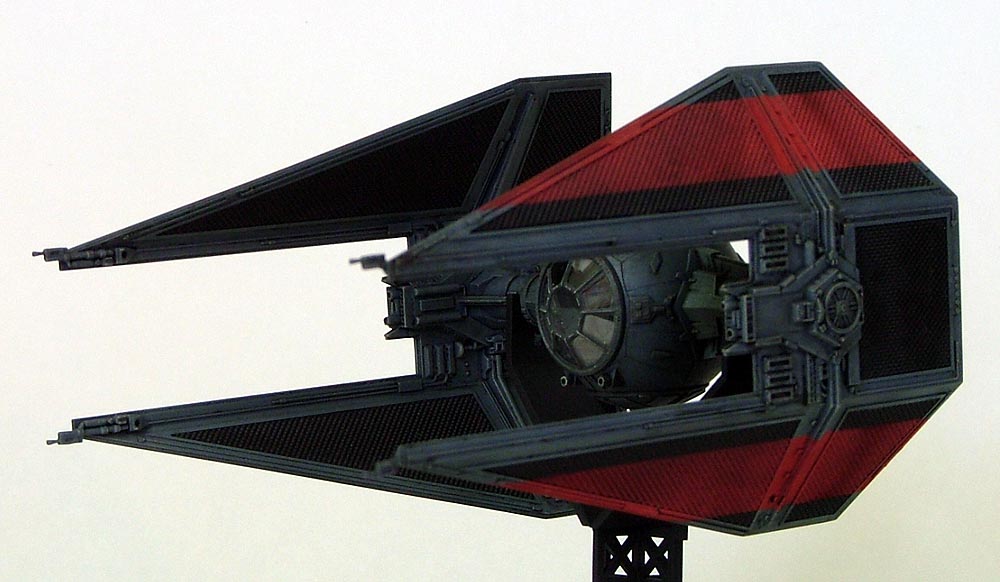
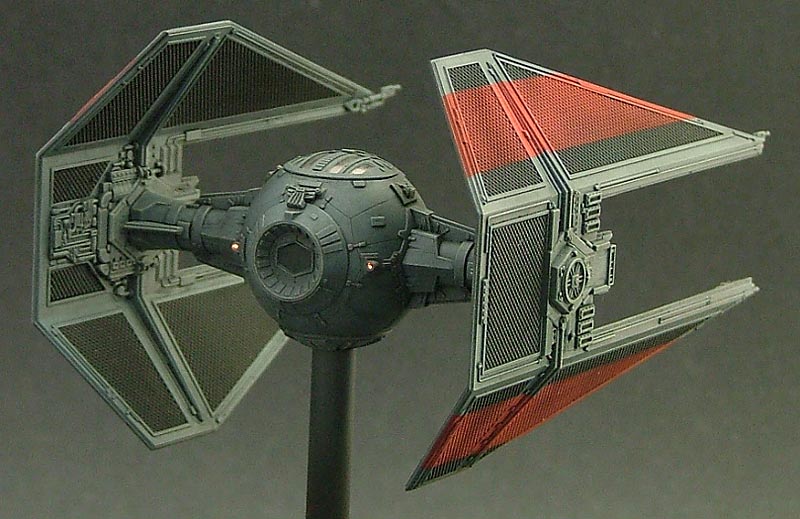
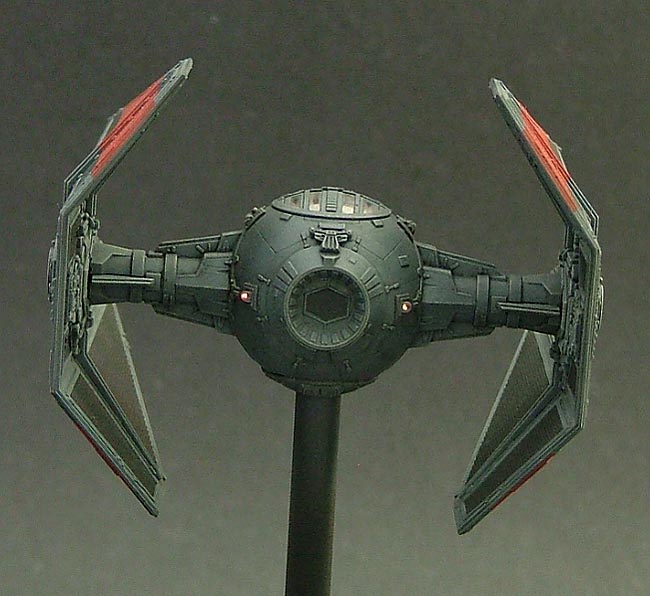
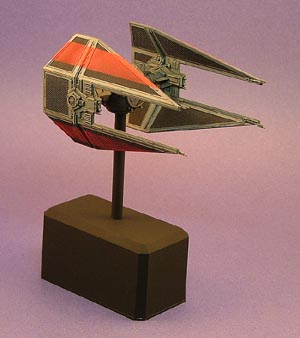
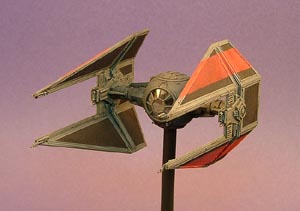
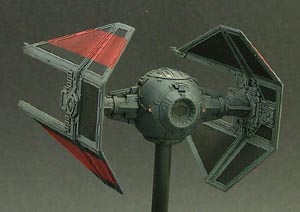
"Saber
1" is finished in the standard dark grey
tone shown in SW: Ep VI ROTJ, as it would
appear in the later period SW: Expanded
Universe novels. The blood stripe is Tamiya
XF-7 Flat Red, airbrushed over Tamiya
Masking Tape masks. Nothing sophisticated
required here to render a miniature of Fel's
ship. The weathering is done with varying
degrees of pastel/water washes and
airbrushing Tamiya X-19 Smoke. Not only was
this an interesting and fun subject to model
- but it was done in a relaxing weekend's
worth of effort.
Next
up on my plate for this particular Fine
Molds model kit is an Imperial Crimson Guard
version - overall red - very interesting
looking! Who says the Imperials don't have
flair like the Rebel Alliance Forces!
Update:
30 April 2008 ~ Whoa -
planned too soon! I got diverted...
When
"Saber 1" was awarded a Third Place at the
2007 IPMS/USA National Convention in
Anaheim, California, I brought the miniature
home and parked it inside my display
cabinet. But, something always nagged me
about the build.
It
just seemed to me that I could possibly
light the model too, despite the really
cramped interior areas and the fact that the
TIE Fighter in general isn't spectacularly
lit-up to begin with.
I
muddled on thinking about it for a long
time, until I just grabbed the miniature and
decided to go ahead and make the attempt. I
popped off the hatches on the top and bottom
portions of the Cockpit Ball, as well as the
glass nose without any troubles. I also
pulled out the two Control Walls - but chose
not to detail them. I know the Fine Molds
decal has way too many control tiles on it -
but I didn't have a problem with them. You
are hard-pressed to see them in the
completed kit anyway.
I came
up with a simple self-contained battery pack
that held two AA-sized batteries that could
fit inside the 1:64th scale Car Display
Cases that I selected to mount both my TIE
Interceptor and Y-Wing Fighter miniatures,
and just retrofit my miniature accordingly.
What
was called for was some careful drilling out
of the two Engine Exhaust Ports on the rear
end of the Cockpit Ball with a 1 millimeter
drill bit. The holes were drilled through
the bulkhead behind the Pilot Chair, and are
hidden by the Control Walls to either side
of the Pilot in the end.
Next,
I drilled two, 2mm, holes from the underside
of the Cockpit Floor, through the small
space behind the Control Walls and the
Fuselage - slowly, so as not to punch
through the body of the TIE Interceptor.
With this done, I was able to snake two GoW
(Grain of Wheat) Bulbs into either side of
the Cockpit. I taped them into place with
Tamiya Masking Tape, glued them into
position with Elmer's White Glue and pointed
the tips into the holes I previously drilled
for the Engine Exhaust.
Fiber
Optics would have been a good tool to use
here, but alas, I had none in the
cupboard...
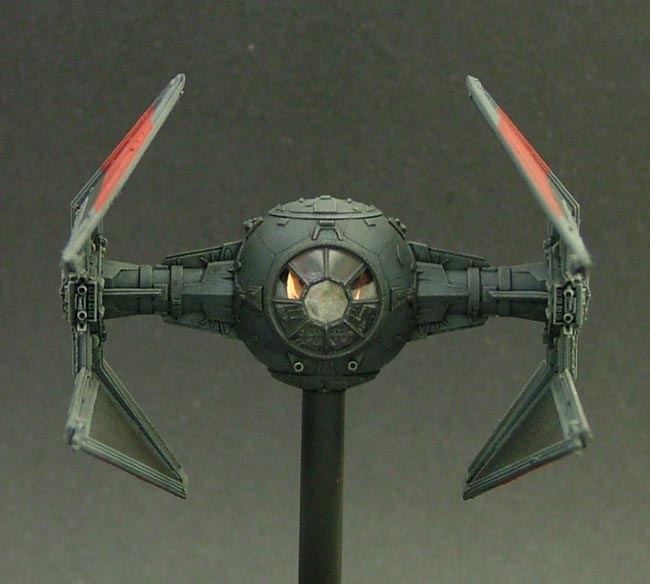
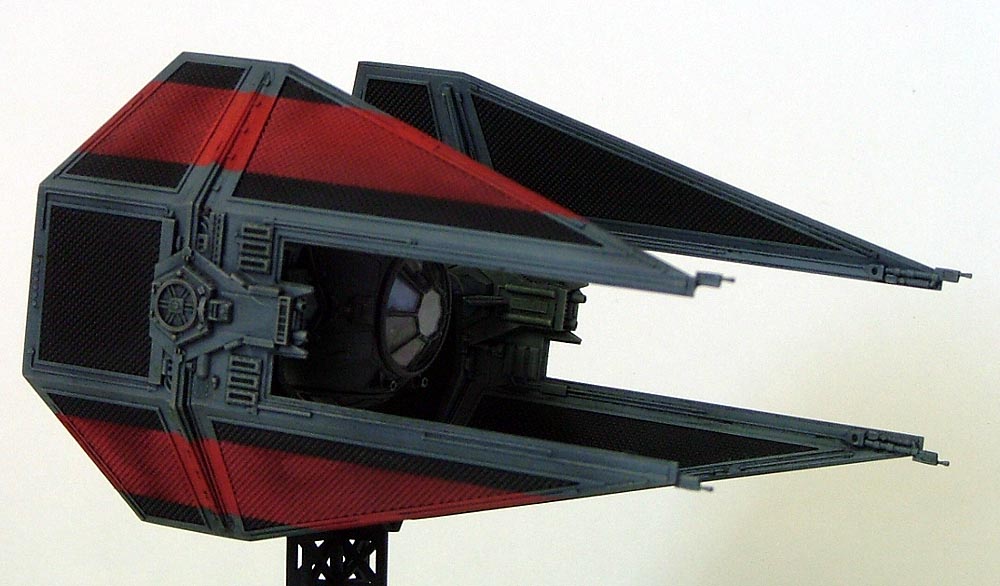
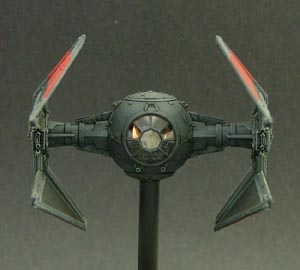
Endeavoring
to make a lighting effect more "scale" in
appearance, I filled the Exhaust Port
openings with a drop of Micro Krystal Kleer
mixed with one drop of Tamiya X-27 Clear
Red. This diffused the light coming from the
GoW Bulbs into the effect I wanted in the
end.
Lastly
before closing the Cockpit back up, I
decided to go non-canon again and not try to
block out any spill light from the two GoW
Bulbs. What I got is some soft light coming
into the Cabin from low and behind the Pilot
Chair. You can barely see the effect, but it
is there. Again, I know there is precious
little of any light in the Cockpit Ball, but
I like having a tiny bit there to catch the
eye.
|

|
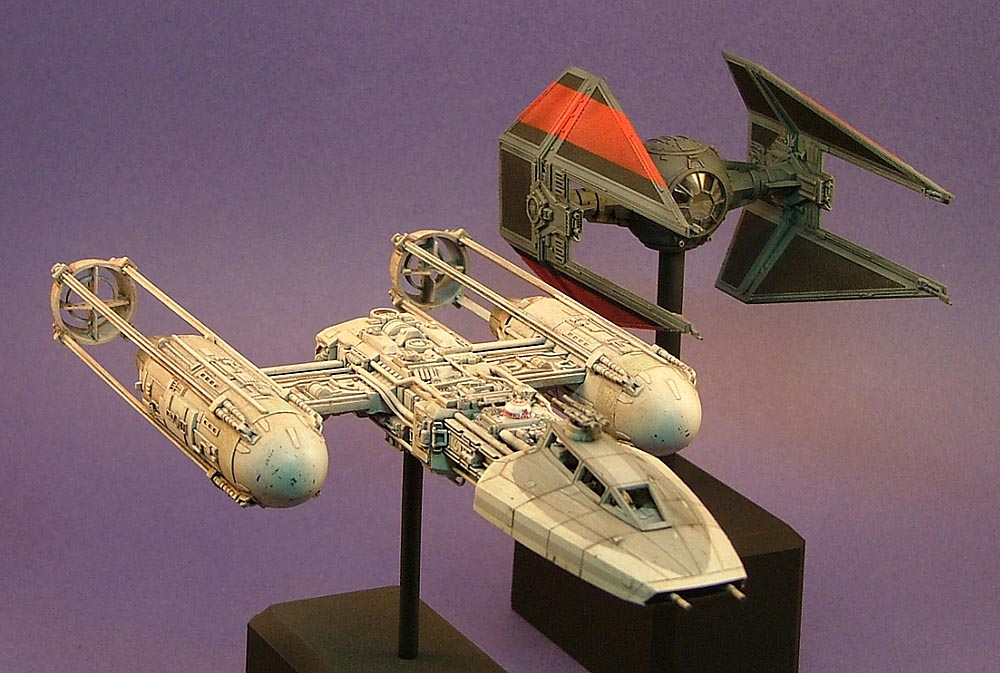
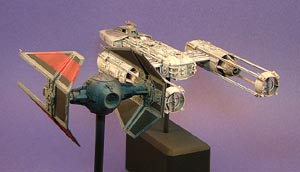
While
working out the reassembly and mounting to
the new display stand, I couldn't help
playing and posing the two adversaries
together for a photograph or two. The nice
thing about Fine Molds kits are their
constant scale, I can pose Colonel-Baron
Soontir Fel and Colonel Horton Salm in
flight formation and dream a little bit...
As I
did with Colonel Salm's Y-Wing
Fighter, I tried to keep the
lighting of Fel's "Saber 1" at a scale
effect. The overwhelming majority of lighted
Sci-Fi models I see are just way over lit
for the scale. If that's your bag, fine by
me - I enjoy them all. But, for my
collection, I want it toned down a magnitude
or two. I think the miniature looks better
for the effort.
The
TIE Interceptor is powered by two
AA-Batteries in a small powerpack that rests
inside the Display Base. I just remove the
bottom to flick the switch. I wanted a clean
look for the Display Bases here, and no
external switches. Super-simple and
complimentary to the miniatures, these are
really relaxing projects to add to your
collection.
|